Check your Rewards Here!
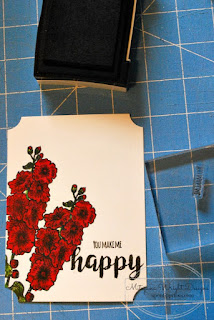
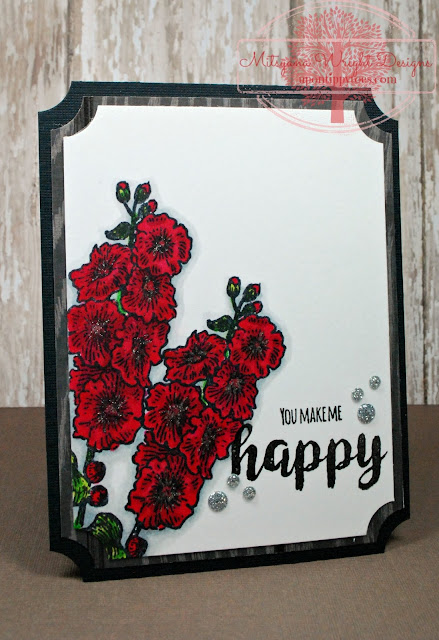
You make me HAPPY

Other Supplies Used:
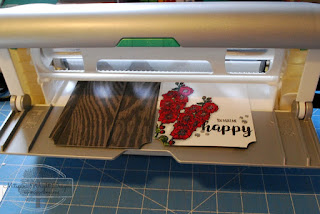
Mixed Media Paper (Strathmore), Xyron Creative Station, Momento Tuxedo Black Ink Pad (Tsukineko), Spectrum Noir Markers (CG3, CG4, DR2, DR4, DR6, IG1, IG4), Jelly Roll Pen (Sakura), VersaFine Onyx Black Ink Pad (Tsukineko), Glitter Enamel Dots (Virginia Turtle), Black Cardstock (Bazzill), Patterned Paper (Craft Smith)
I started by stamping my image onto Mixed Media paper. To be honest with you, this was the very first time I used this paper. It was an extremely thick and sturdy paper that was maybe a tiny bit thinner than chipboard. Yes, it was that thick! But, I guess if it is hold up to all of what mixed media has to offer, it would have to be thick.
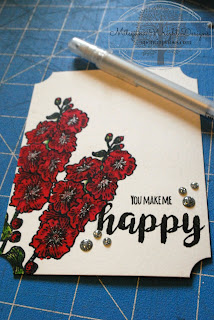
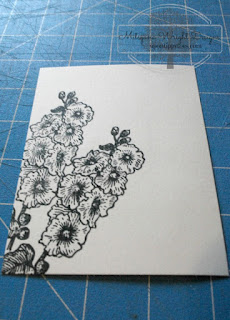 I cut my paper at 3.75"x 5" and stamped my image with Momento Tuxedo Black ink. I angled my first impression and adjust my stamp to be as close as possible without having to use a mask. Then stamped a second time.
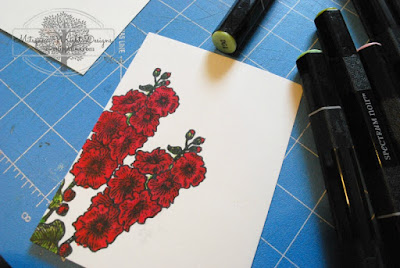 Then I used my Spectrum Noir Markers in DR2, DR4, and DR6 for the flowers and buds. And for the leaves I used CG and CG4. To add a shadow around my flowers, I used IG1 and IG4.
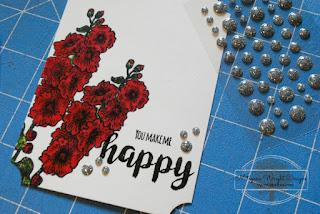 I added a few enamel dots to accent... for some reason I like groups of three. Three of anything always seems to work with me. If you're not an enamel person, rhinestone or sequins would work here too.
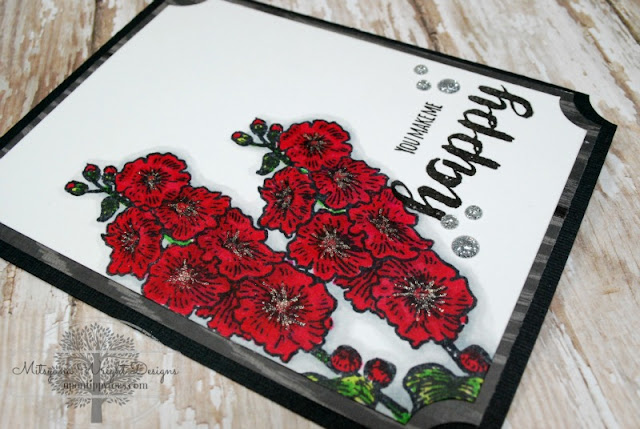
CLOSER VIEW


Leave a comment