Check your Rewards Here!

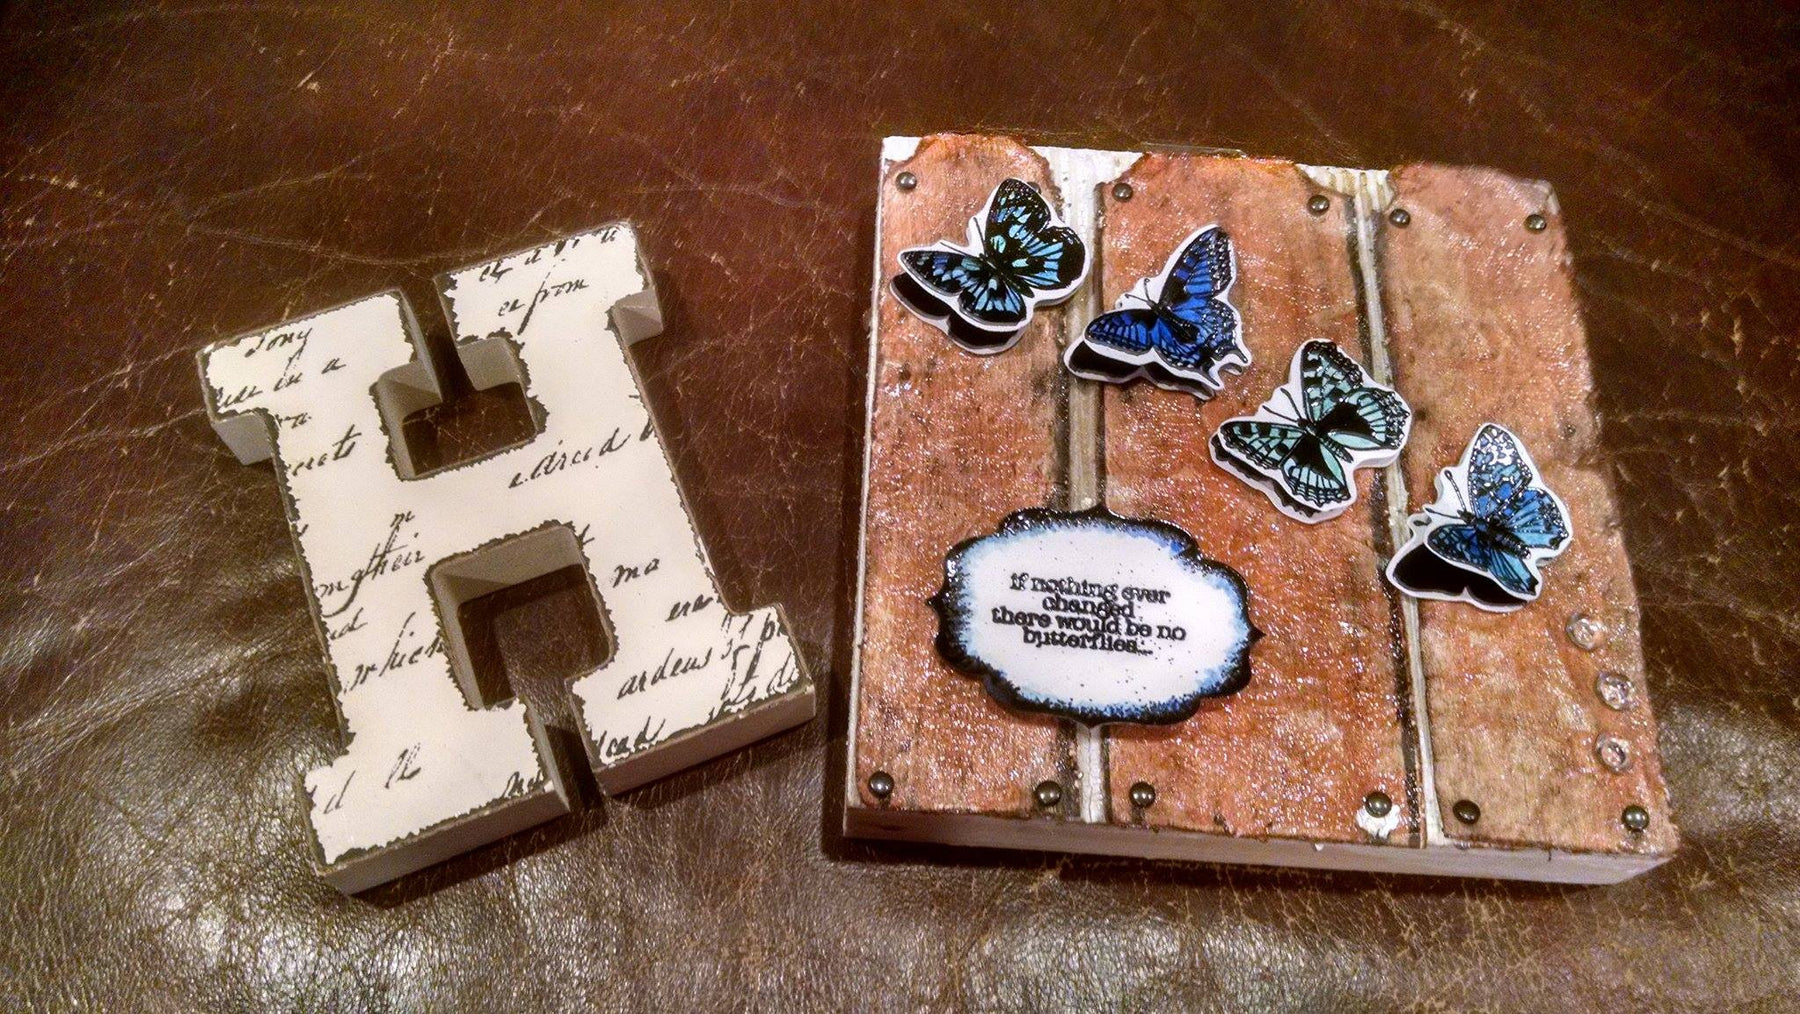
"Butterfly Kisses" Mixed Media Canvas - Heather Collins

For this project I took the corrugated paper from the Brutus Monroe 'Sand Dune' Mixed Elements Paper Pad and using Brutus Monroe craft glue I attached the corrugated paper to a 6x6" canvas found at any craft store, stacking a few books for it to do an even bond to the canvas. Once it was dry (which didn't take long), I used decor arts media white & clear crackle paint all over the paper. I focused on the upper left corner and lower right to put most of the white on. I have a 'bling bucket' that contains all types of sparkles that I sprinkled all over when it was still wet. Then I allowed to dry over night. Using a paper cutter I cut some 'wood grain' paper into 6x6' squares. Then cut along the wood lines to make stripes. I took a half an inch off of one of the pieces so that the corrugated paper could show through under the stripes. I ran a distressing tool along the sides to make it look like a worn fence. Then tore pieces from the top corners to make it look like a fence. The clear crackle was applied onto and when it had sat for about 15 minutes I crinkled the paper to make it look worn. After dried I ran the Brutus Monroe surface stamp Macchiato along the edges to finish off the stripes. Then, eye-balling it, I placed brads to look like nail heads on the top and bottom of the 'fence post'.


On white card stock I stamped Brutus Monroe's Butterfly Sentiments 2.0 using Brutus Monroe's Embossing ink and Brutus Monroe's Raven Embossing Powder. Not only does this embossing ink allow you to stamp what you need without the fillers, but without the worry that is going to dry up in 2 minutes. Bonus is that it even smells good. Then I used Brutus Monroe's Butterfly Sentiments 2.0 dies to cut out the butterflies. Using an art mat I smeared some Brutus Monroe Surface Ink Cornflower and Oz, then 'painted' the butterflies front and back with a water brush.


I stamped and embossed the sentiment the same way I did the butterflies. Then punched it out using a punch that I had in my craft room. I used the embossing ink along the edges, again eyeballing it. After it had dried I used the water brush with the two blues again.

After everything was dried I then got to assemble it all. Using the Brutus Monroe craft glue again I applied the 'fence post' and put a few books on top. Then folded the butterflies in the middle and used a thin strip of foam tape between the two layers of butterflies. Next I used the craft glue to put the sentiment on the bottom and the butterflies. Three Brutus Monroe - Flat Back Bubbles 'Clear' were put after the 4 butterflies. Once done it was ready to be displayed. It was a little bit involved but the final result was totally worth it in the end. The perfect spring project. Hope you enjoyed it and can't wait to see what yours looks like.


Supply list for "Butterfly Kisses":
Brutus Monroe - Butterfly Sentiments 2.0
Brutus Monroe - Butterfly Sentiments 2.0 Dies
Brutus Monroe - Embossing Ink 'Clear'
Brutus Monroe - Ultra Fine Embossing Powder 'Raven'
Brutus Monroe 'Sand Dune' Mixed Elements Paper Pad
Brutus Monroe - surface ink -Macchiato -Cornflower -Oz
Brutus Monroe - Flat Back Bubbles 'Clear'
Brutus Monroe- Craft Glue
Brutus Monroe Squeaky Clean Cleaner
Brutus M onroe Microfiber Stamp Cloth
heat gun
decor arts media white & clear crackle paint
black brads
MISTI
Scissors
White Card Stock
Wood Paneled Card Stock
Paper Cutter
Ranger Craft Mat
Distressing Tool
Bling bucket- this is just a mixure of all types of goodies that can finish off or add to a project
decor art glamour dust crystal
Stampendous silver luc mix micas & glitter clear sequins
finnabair art ingredients
glass glitter sterling
mini prills silver
finnabair art stone

Comments
Leave a comment