Check your Rewards Here!

Cookie Crazy!
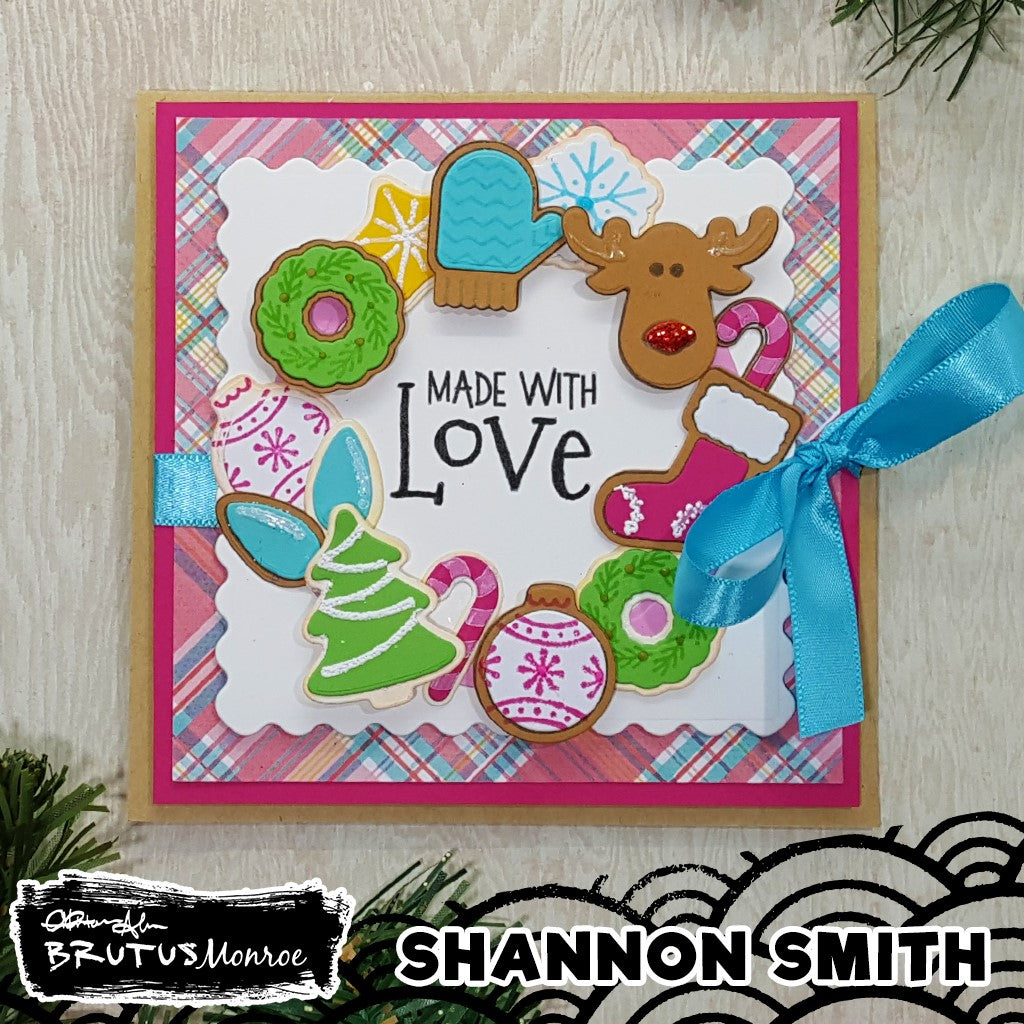
 Did you purchase the Holiday Traditions Box? I was amazed when I received this delicious box of crafty goodies! The Holiday Cookies stamps and dies are a welcome addition to my holiday crafting stash. These adorable cookies are getting broken in quickly.

For this project I used an ivory cardstock and a tan paper (from a previous Inspiration box that reminded me of gingerbread) to create the cookies. I die cut the cookies (I inked the ivory ones with Simon Hurley Over the Moon ink to give them a baked look) and adhered the frosting layer die cut before stamping the details. This worked best for me.


I had a lot of fun playing with different frosting layer possibilities. I tried foam, pattern paper, felt, vellum and glitterstock. The options are endless!

This set comes with an outline stamp too so you can stamp without cutting them out. The icing detail stamps are a breeze to line up and add such a cute finishing touch to your cookies.
You can really get creative using gel pens, glitter, beads, embossing powders etc. to make your cookies tempting.


I used Lunchbag cardstock to create a 5 inch square card (5 x 10). I cut a piece of PhotoPlay Cotton Candy paper to 4 ¾ square and attached it to my base using foam squares. I die cut a piece of Not Your Mamas cardstock and stamped my sentiment in the center. I used a piece of beautiful turquoise ribbon from a past Inspiration Box underneath it. I attached it to the plaid panel, leaving space for the ribbon to move around until I was ready to tie a bow on the right side of the card.


I cut the foundation for my wreath using circles from the Circle Foundation dies and centered it on my Not Your Mamas panel. I used a mix of tissue tape and foam squares to attach and arrange my wreath thereby giving it a little more dimension. Once everything is placed it may be easier to tie your bow (though I tied mine before to get the ribbon out of my way a bit).


Here is a link to the live tutorial: Crafty Shannonigans YouTube


Leave a comment