Check your Rewards Here!

Flutter
Hello again, friends!
Bobbie Sue here. I am still so incredibly excited to be guest designing with Brutus Monroe this month.
I've made a couple of cards showcasing Brutus Monroe's gorgeous "Flutter" stamp! I recently received this stamp and am so impressed with the amazing detail of the butterflies! When you have detail this crisp you can create without color and still get that WOW factor!
I love big cards! And I can not lie. It's true! 4 x 9.25 cards are beautiful! (They use a #10 envelope.)
I am crazy about this card! I know. I used color. But only to splatter with! Look how gorgeous those butterflies are in black and white!
Stamping the butterflies was very tricky as there are only 3 per side. I wanted them to trail along the entire length of my card, so lots of finagling was had! Since all the ends of the butterflies are cut off I knew I would have to do some added drawing for the butterflies to line up as one continuous stamp. It worked out much easier than I had thought!

Steps to create this card:
1. First I cut a 4 x 9.25 panel using Bristol Smooth.
2. Then, I stamped a side of the stamp that would easily flow with another side of the stamp and masking of parts I didn't want to ink. Now I needed to line up another side and mask off parts of the image I didn't want to ink. I left a small gap between the end of my first line of butterflies and the beginning of my second. This allowed me to draw the missing parts so that it would flow.

3. Once my butterfly trail was stamped and connected, I added a shadow around each one using a medium gray Zig marker blending out to fade with a Zig clear blending pen.
4. Next, I stamped the Hello from Sharon's Script stamp set directly to my card panel.

5. Then, I placed the hello stamp back over the sentiment so that when I splattered my copper/gold the color would not get on or directly around word. I did, however, remove it when I splattered the black.

6. Once dried I attached the panel to the #10 card base, made from black cardstock, using Tombow permanent adhesive. Cutting approximately an 1/8 in from around the panel so that it would have a slight black border.
This first card proved to be a challenge, but I learned some things along the way and I love the result!
***************************************************************************************************************************************
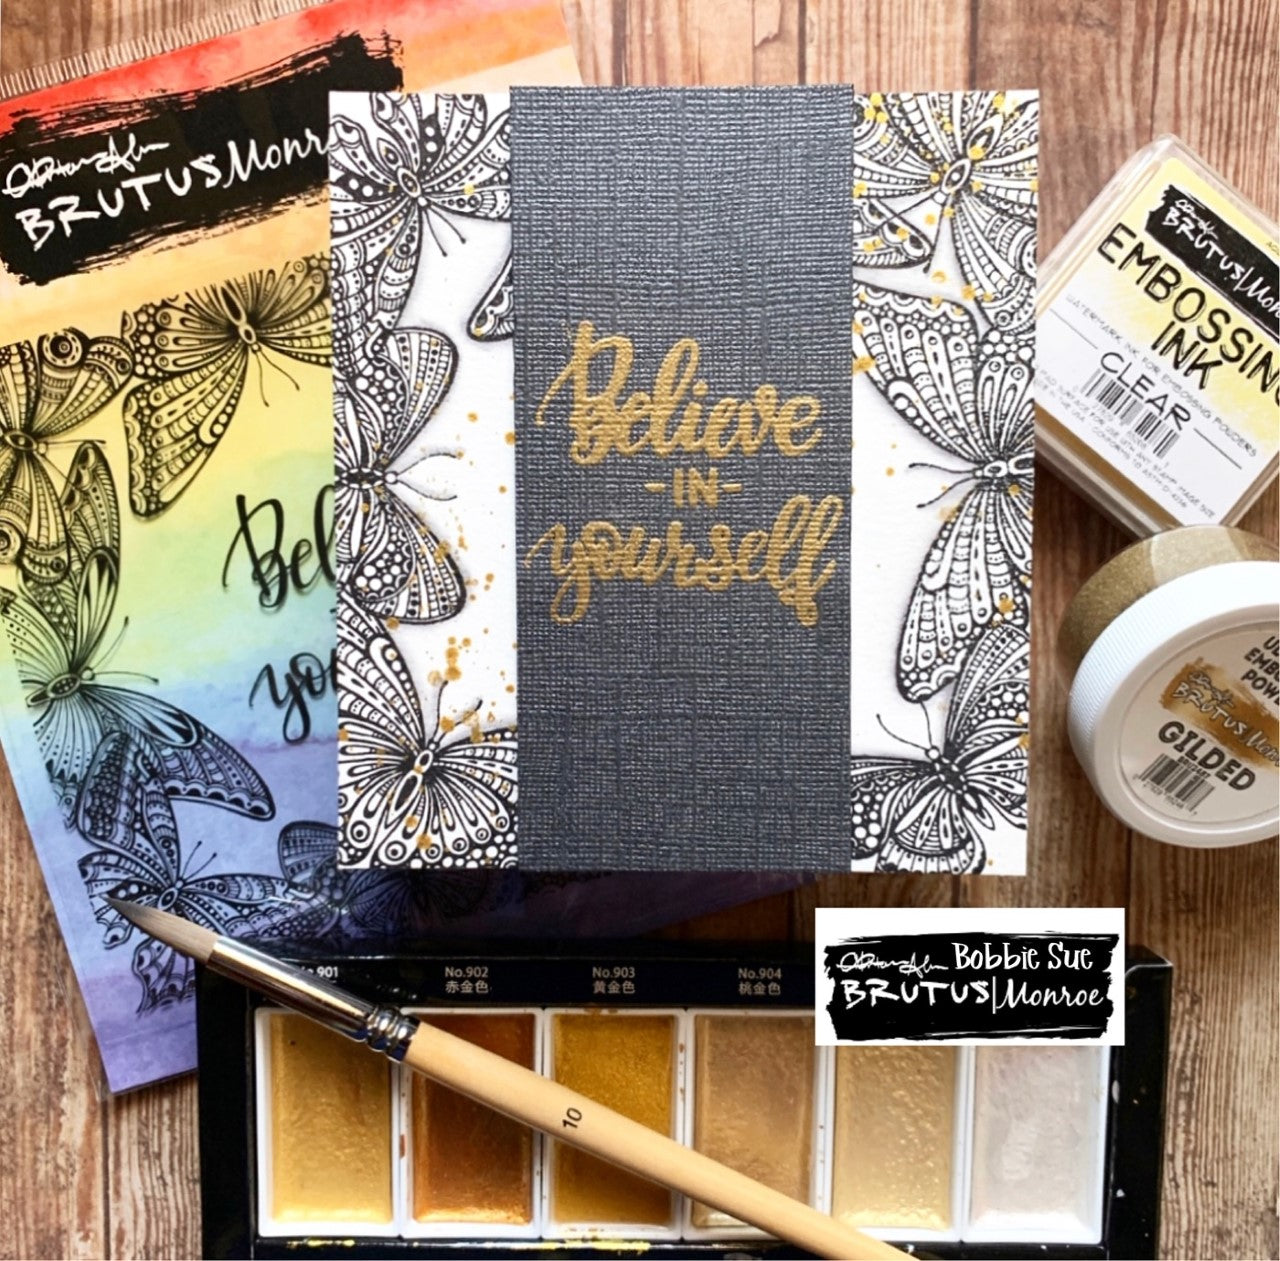
On this next card I stamped 1/4 of the stamp on one side and 1/4 of the stamp on the other. The full image measures 5.5 x 5.5, but I wanted my card to be 4.75 x 5. I was not concerned with the middle part not lining up since I was adding the sentiment on a strip in the middle. The top middle panel is popped up with Brutus Monroe foam tape. This tape gives the perfect height when wanting dimension from one layer to the other.

I absolutely love this gold on black embossed panel! I love Brutus Monroe's Gilded embossing powder. It is the most gorgeous gold!
If you have not purchased this background stamp, I encourage you to. There are so many creative possibilities in using it.
I would love to hear your thoughts on the techniques I used! Which card is your favorite? Mine is definitely the first card!
Thanks for spending this time with me, looking at my makes and enjoying my blog!
I would truly love to connect with you! You can find me on Facebook here, Instagram here and my blog here.
See you soon, friends!
Be blessed,
Bobbie Sue
https://www.two38creations.com/2019/09/guest-designer-with-brutus-monroe.html
Blog
www.two38creations.com
IG
bobbiesue.two38creations
https://www.instagram.com/p/B1PCf0yAsIu/?igshid=1aqc64asz21oc
Facebook page
@Two38creations.anactoflove

Leave a comment