Check your Rewards Here!
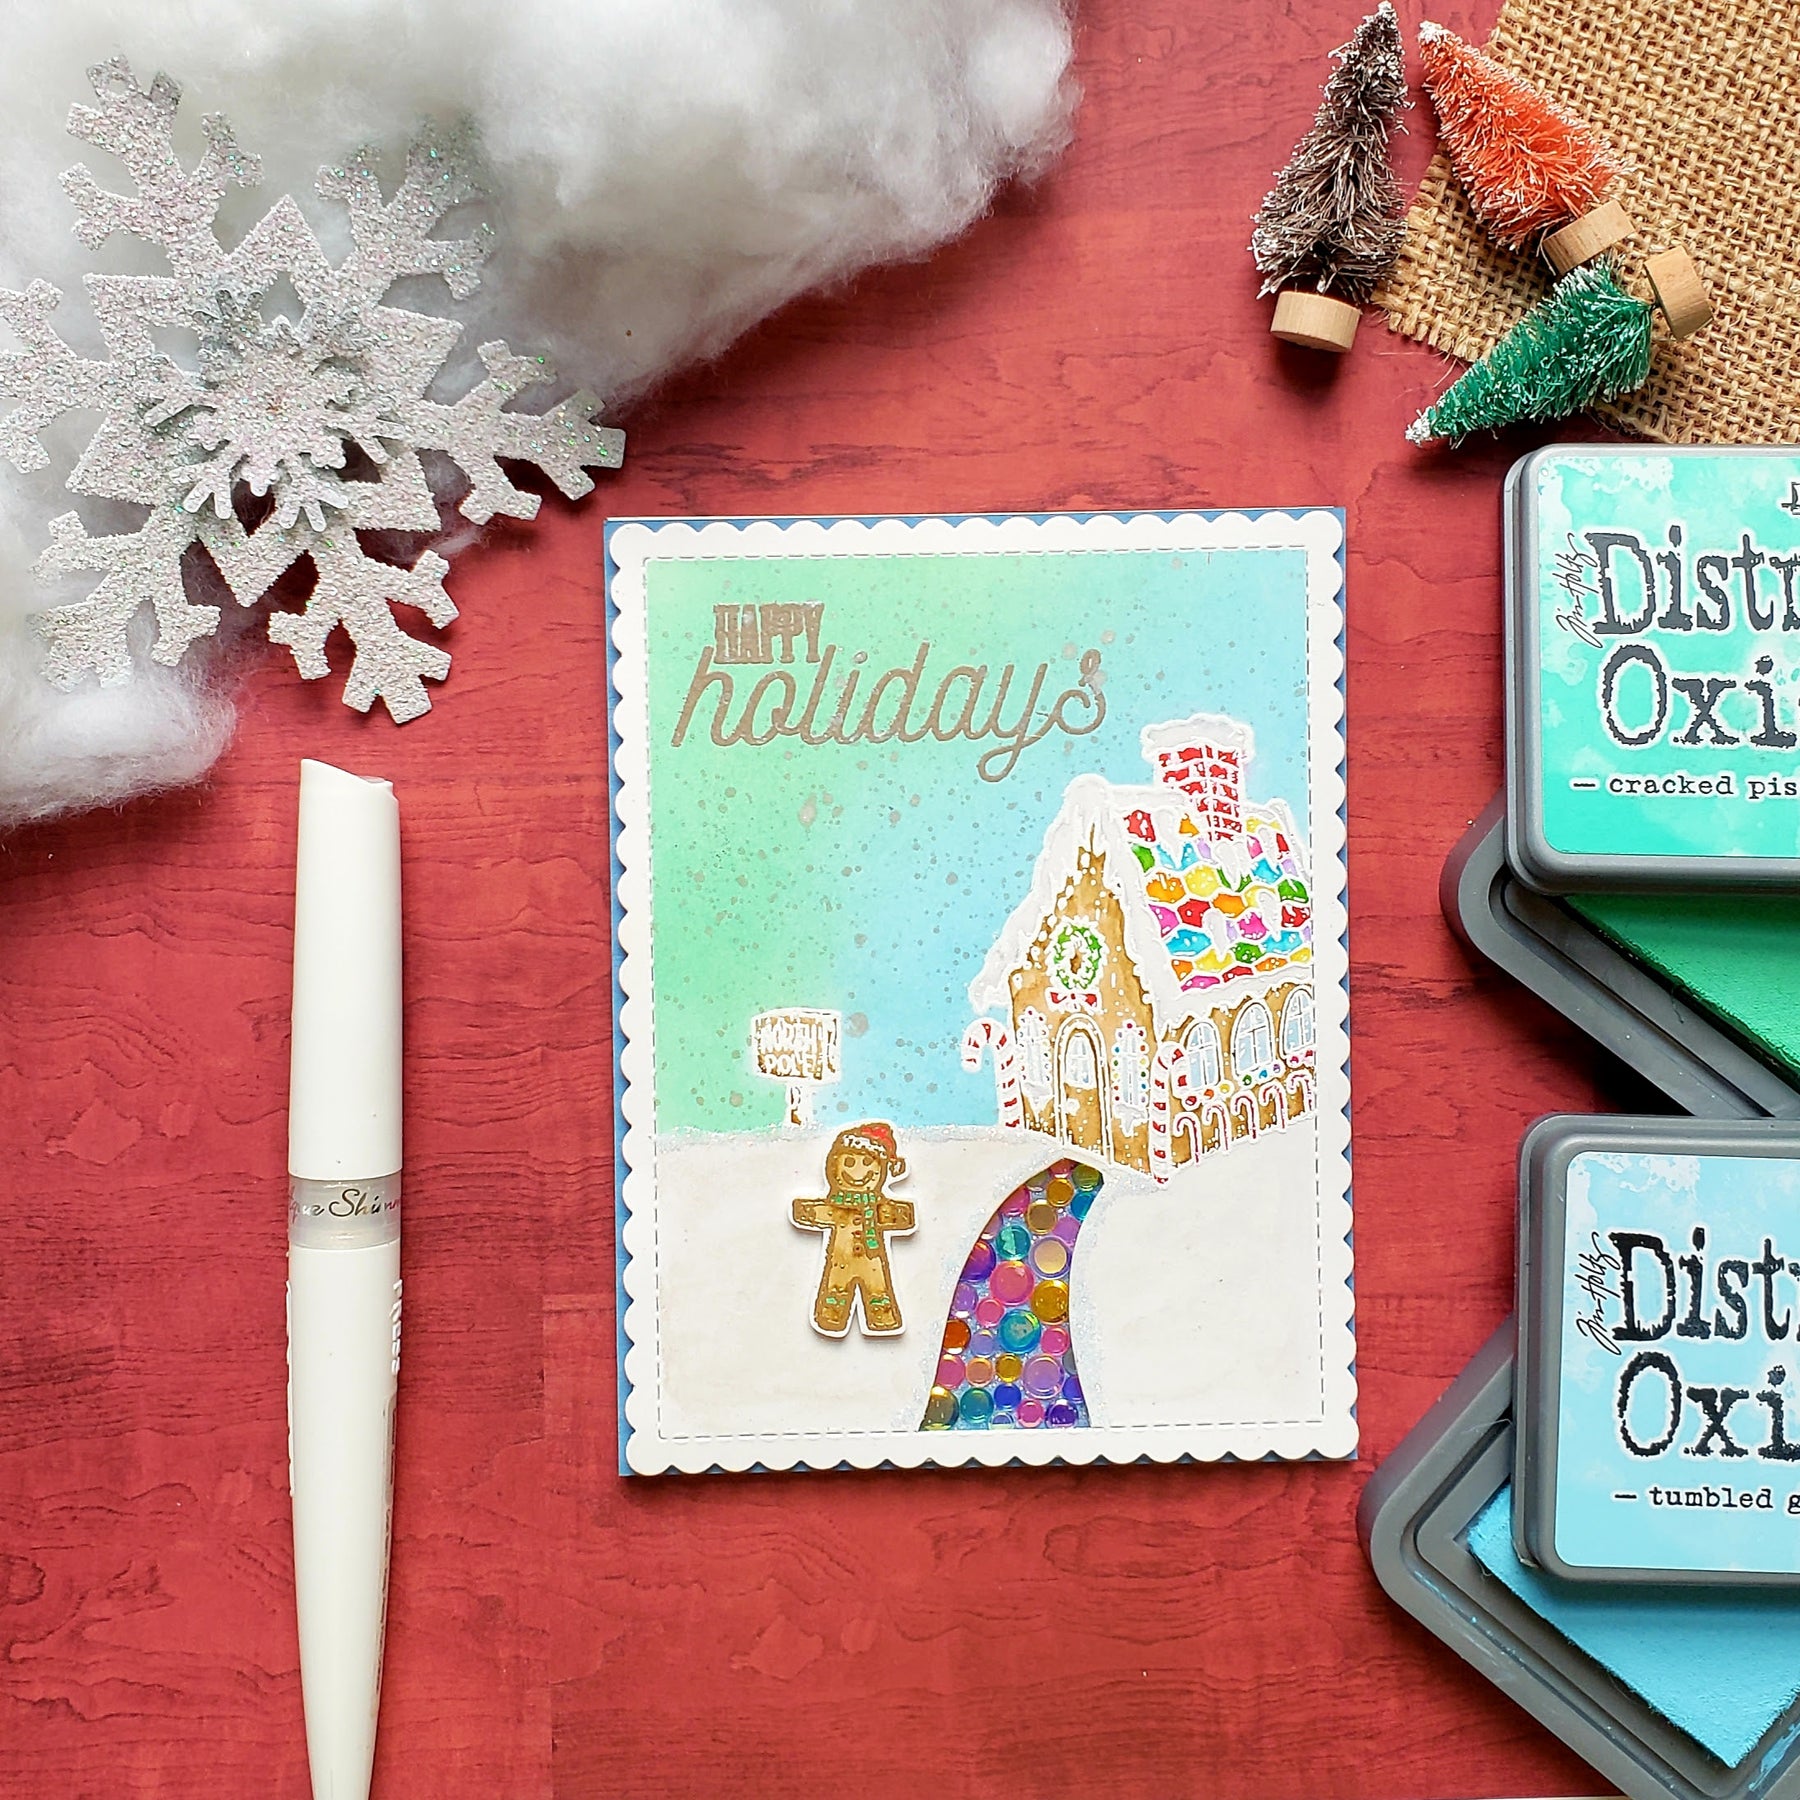
Gingerbread House by Guest Designer, Megin!
Please welcome back our December Guest Designer, Megin, to the blog! You may remember her post from last week, where she colored in some Christmas images with gel pens. Fabulous! We are excited to share what she's created for us today!
Hi everyone! Meg B. here again to share with you the most adorable gingerbread house! It makes me want to build one of my own for the holidays! I really wanted this card to be very colorful and sparkly to add to the festive feel of the season. So... I hope you like it!
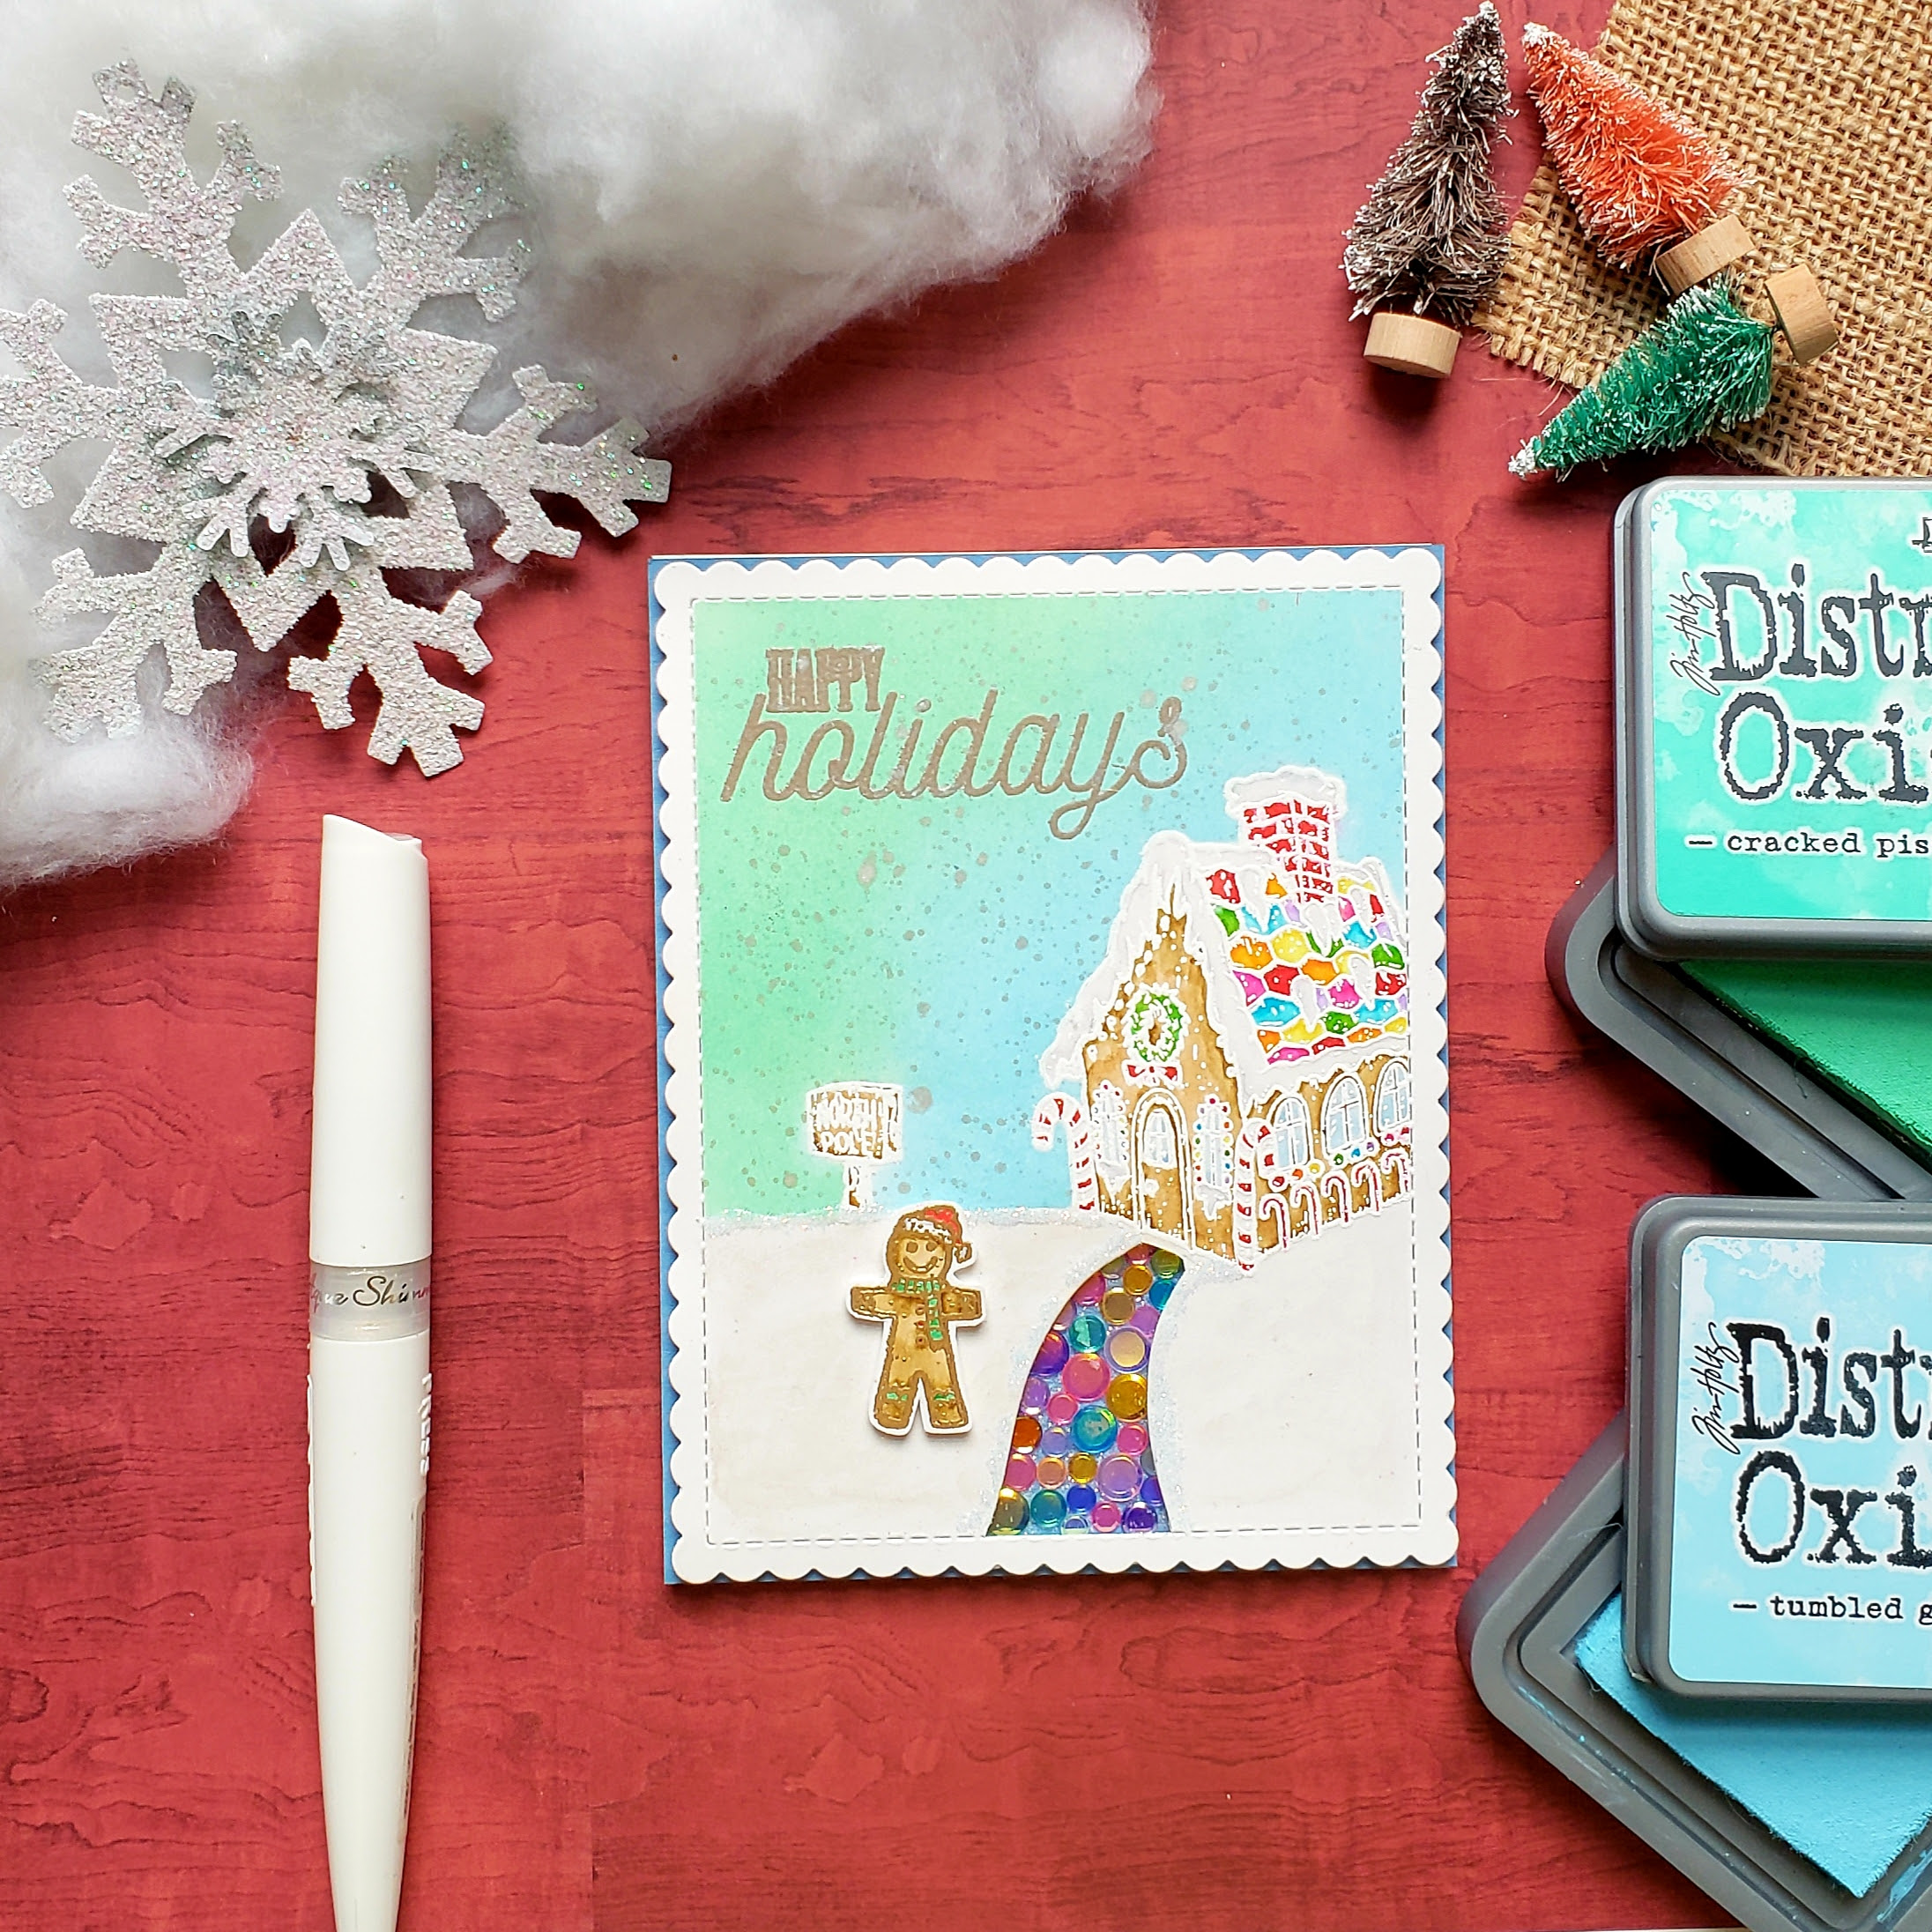
To start, I cut an A2 (4 1/2 by 5 1/2 inch) panel of Bristol Smooth cardstock with a scallop rectangle die. I stamped the house and "North Pole" sign from the Gingerbread Village set with embossing ink, added white embossing powder and heat set. I also stamped both of these onto masking paper cutting right inside the line to make a mask. I adhered the masks to the panel and used low tack tape to divide the snow and sky and the scallop edges.
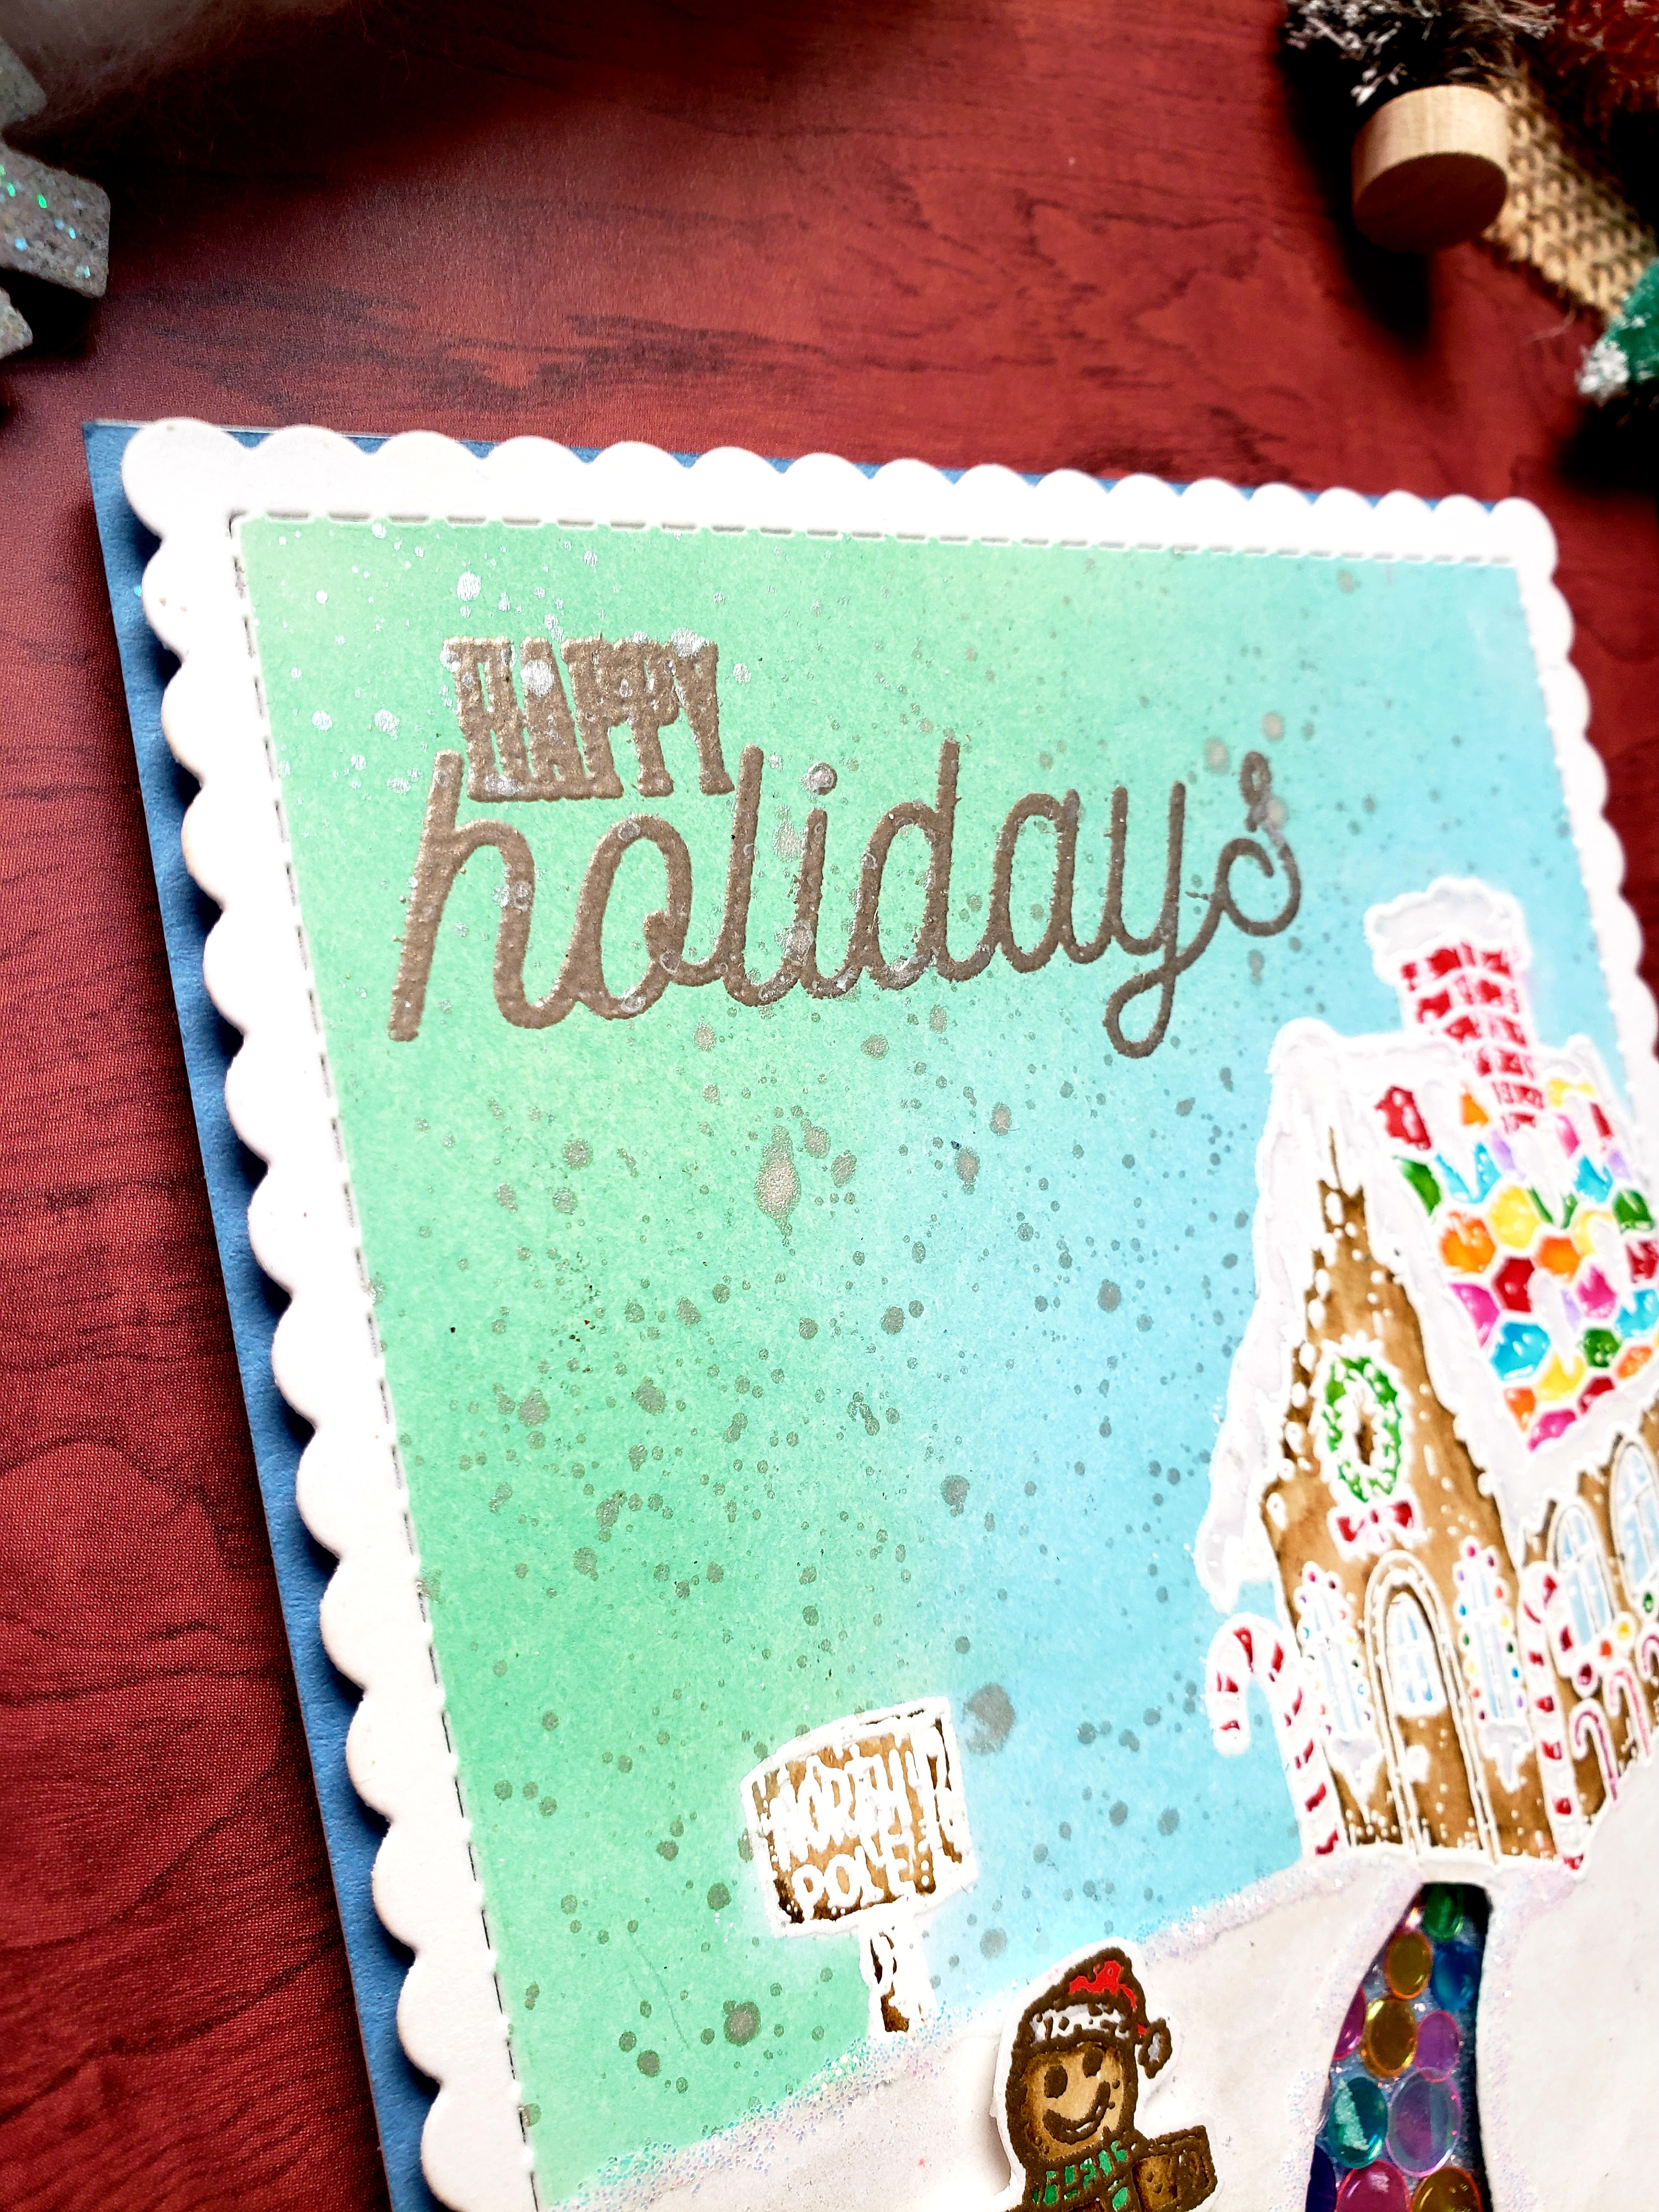
I ink blended the sky using Distress Oxides in Cracked Pistachio and Tumbled Glass. I added "snow" with watered down Perfect Pearls by splattering it with a small paint brush. After the panel was dry, I used my powder tool before stamping the sentiment with embossing ink, platinum powder and heat set.
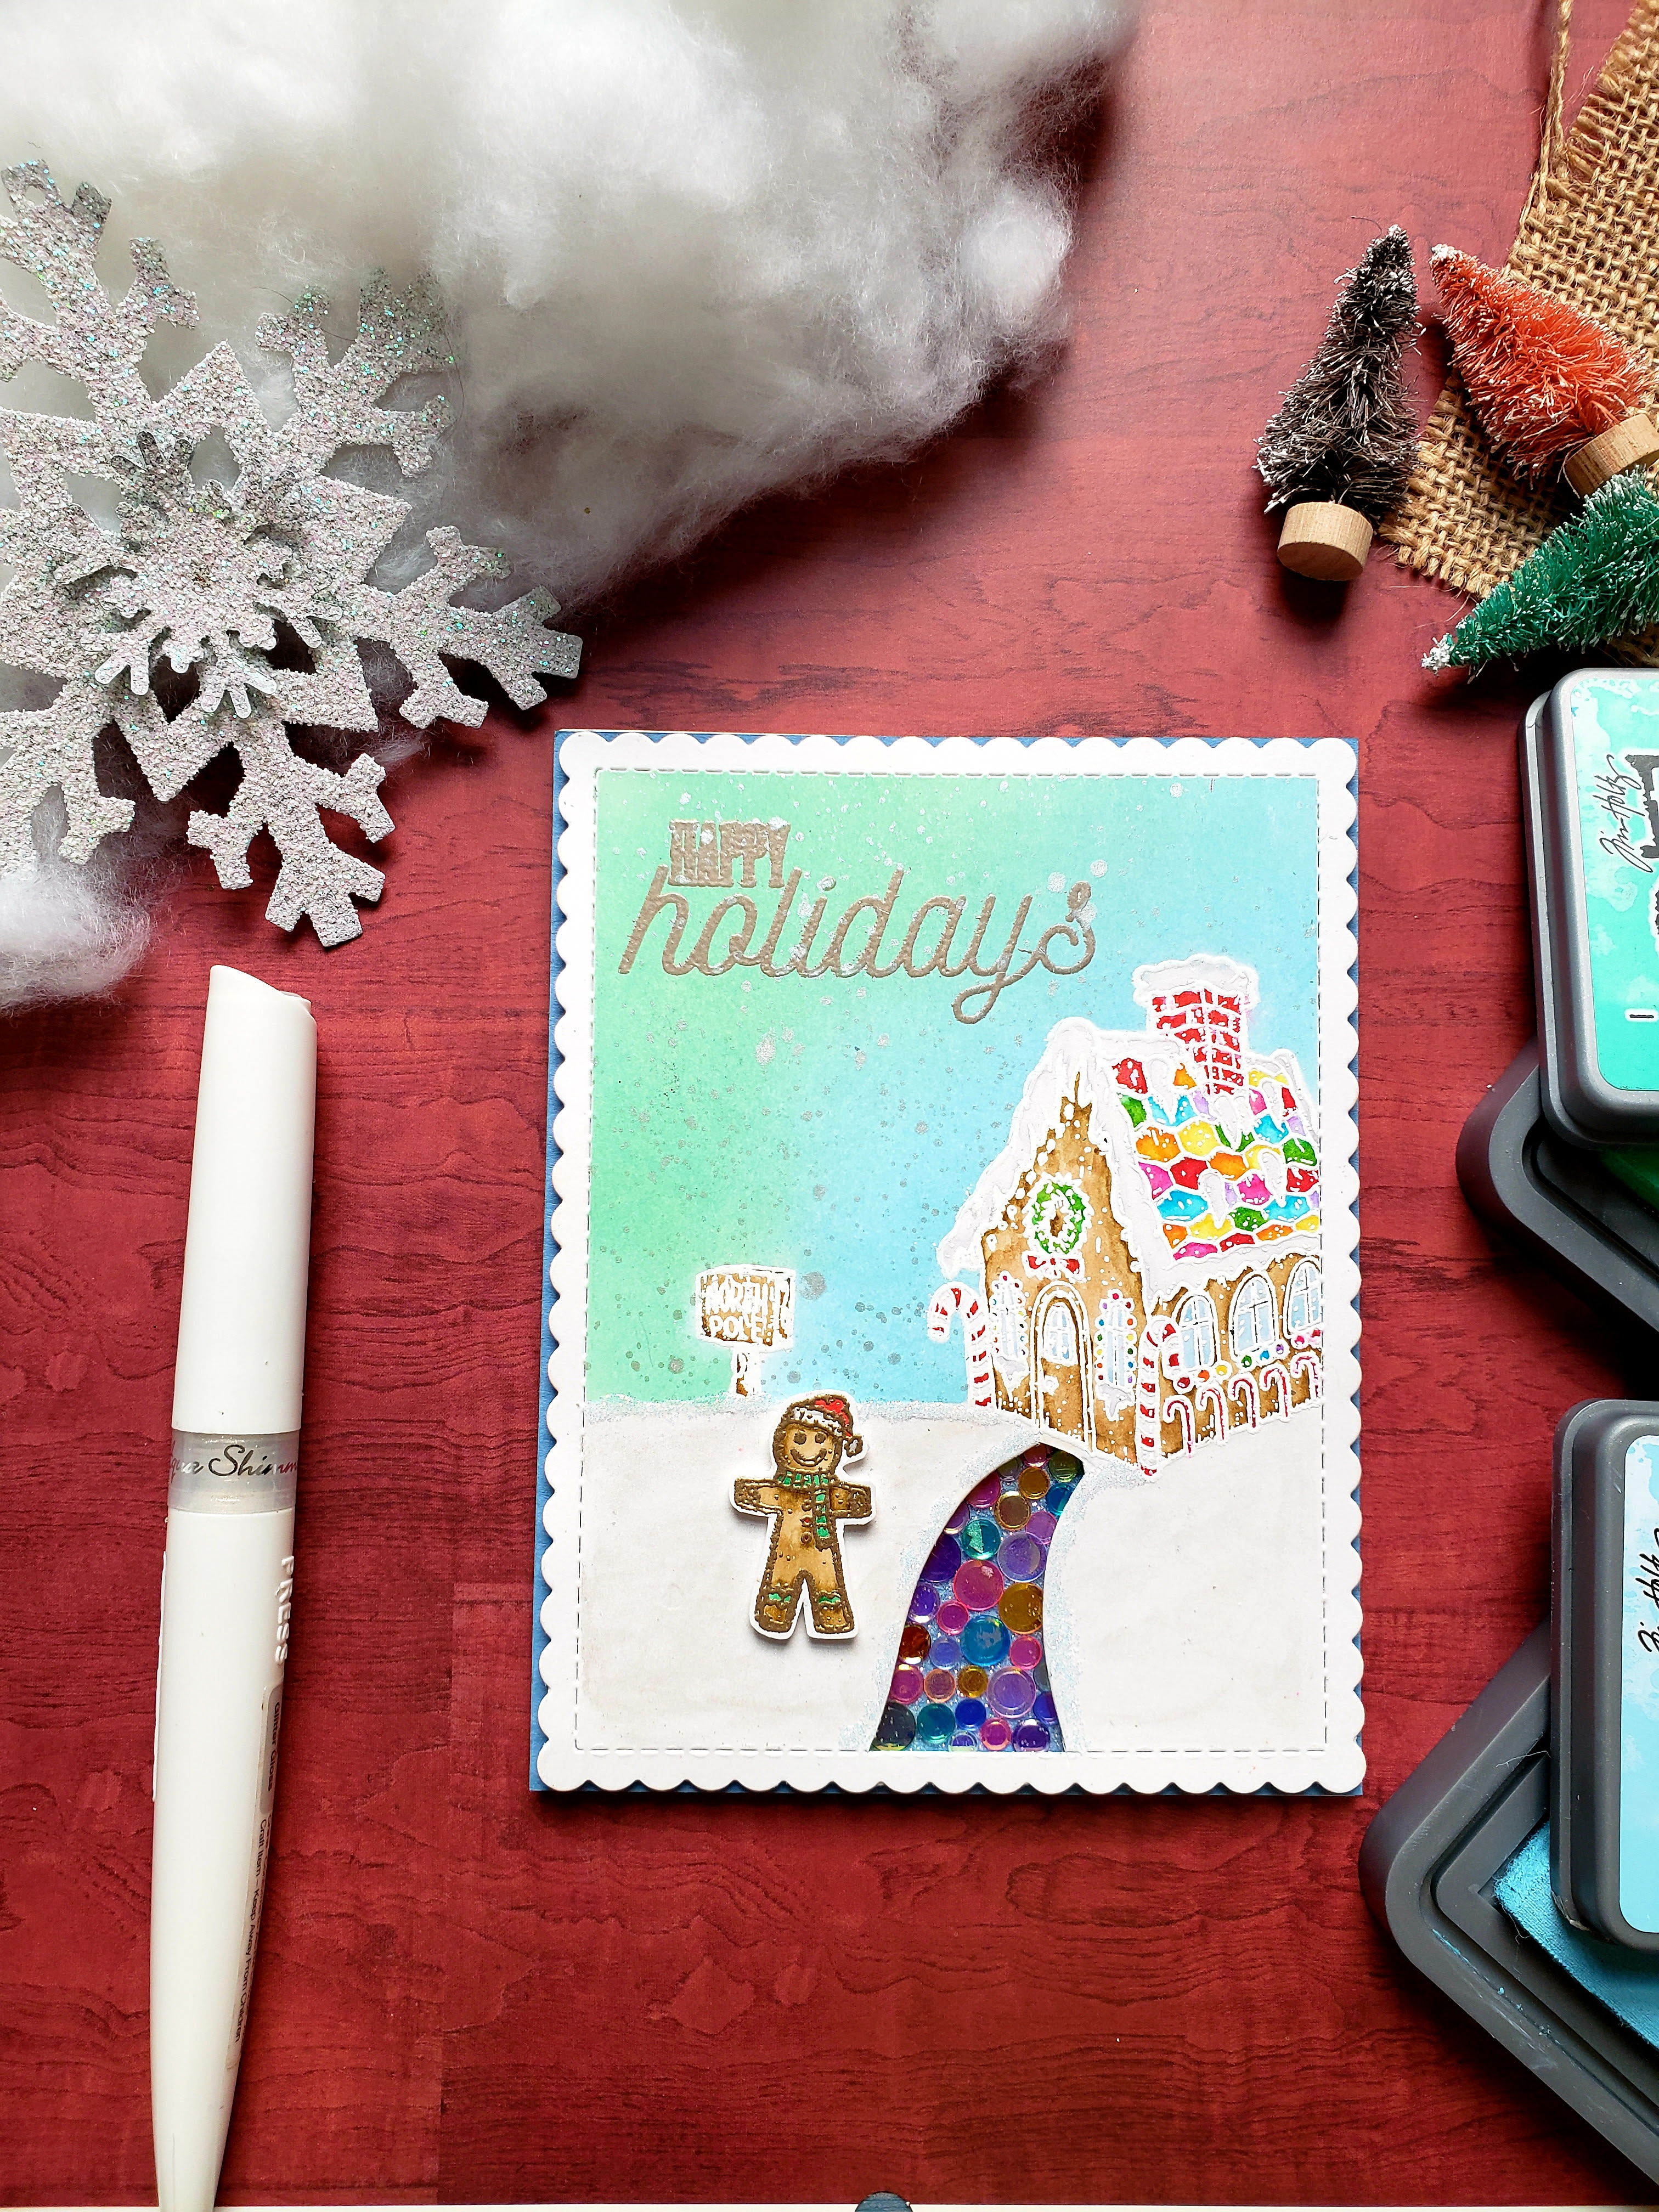
On a separate scrap of smooth paper, I heat embossed the cute little gingerbread man with gold powder. I took the mask off of the house and sign and colored the images with Zig Markers. The colors I used were: Dark Oatmeal, Oatmeal, Wine Red, Red, Orange, Bright Yellow, Yellow, Lemon Yellow, Light Green, Emerald Green, May Green, Cobalt Blue, Light Blue, Lilac, English Lavender, Pink, Peach Pink, Pale Gray and Shadow Mauve.
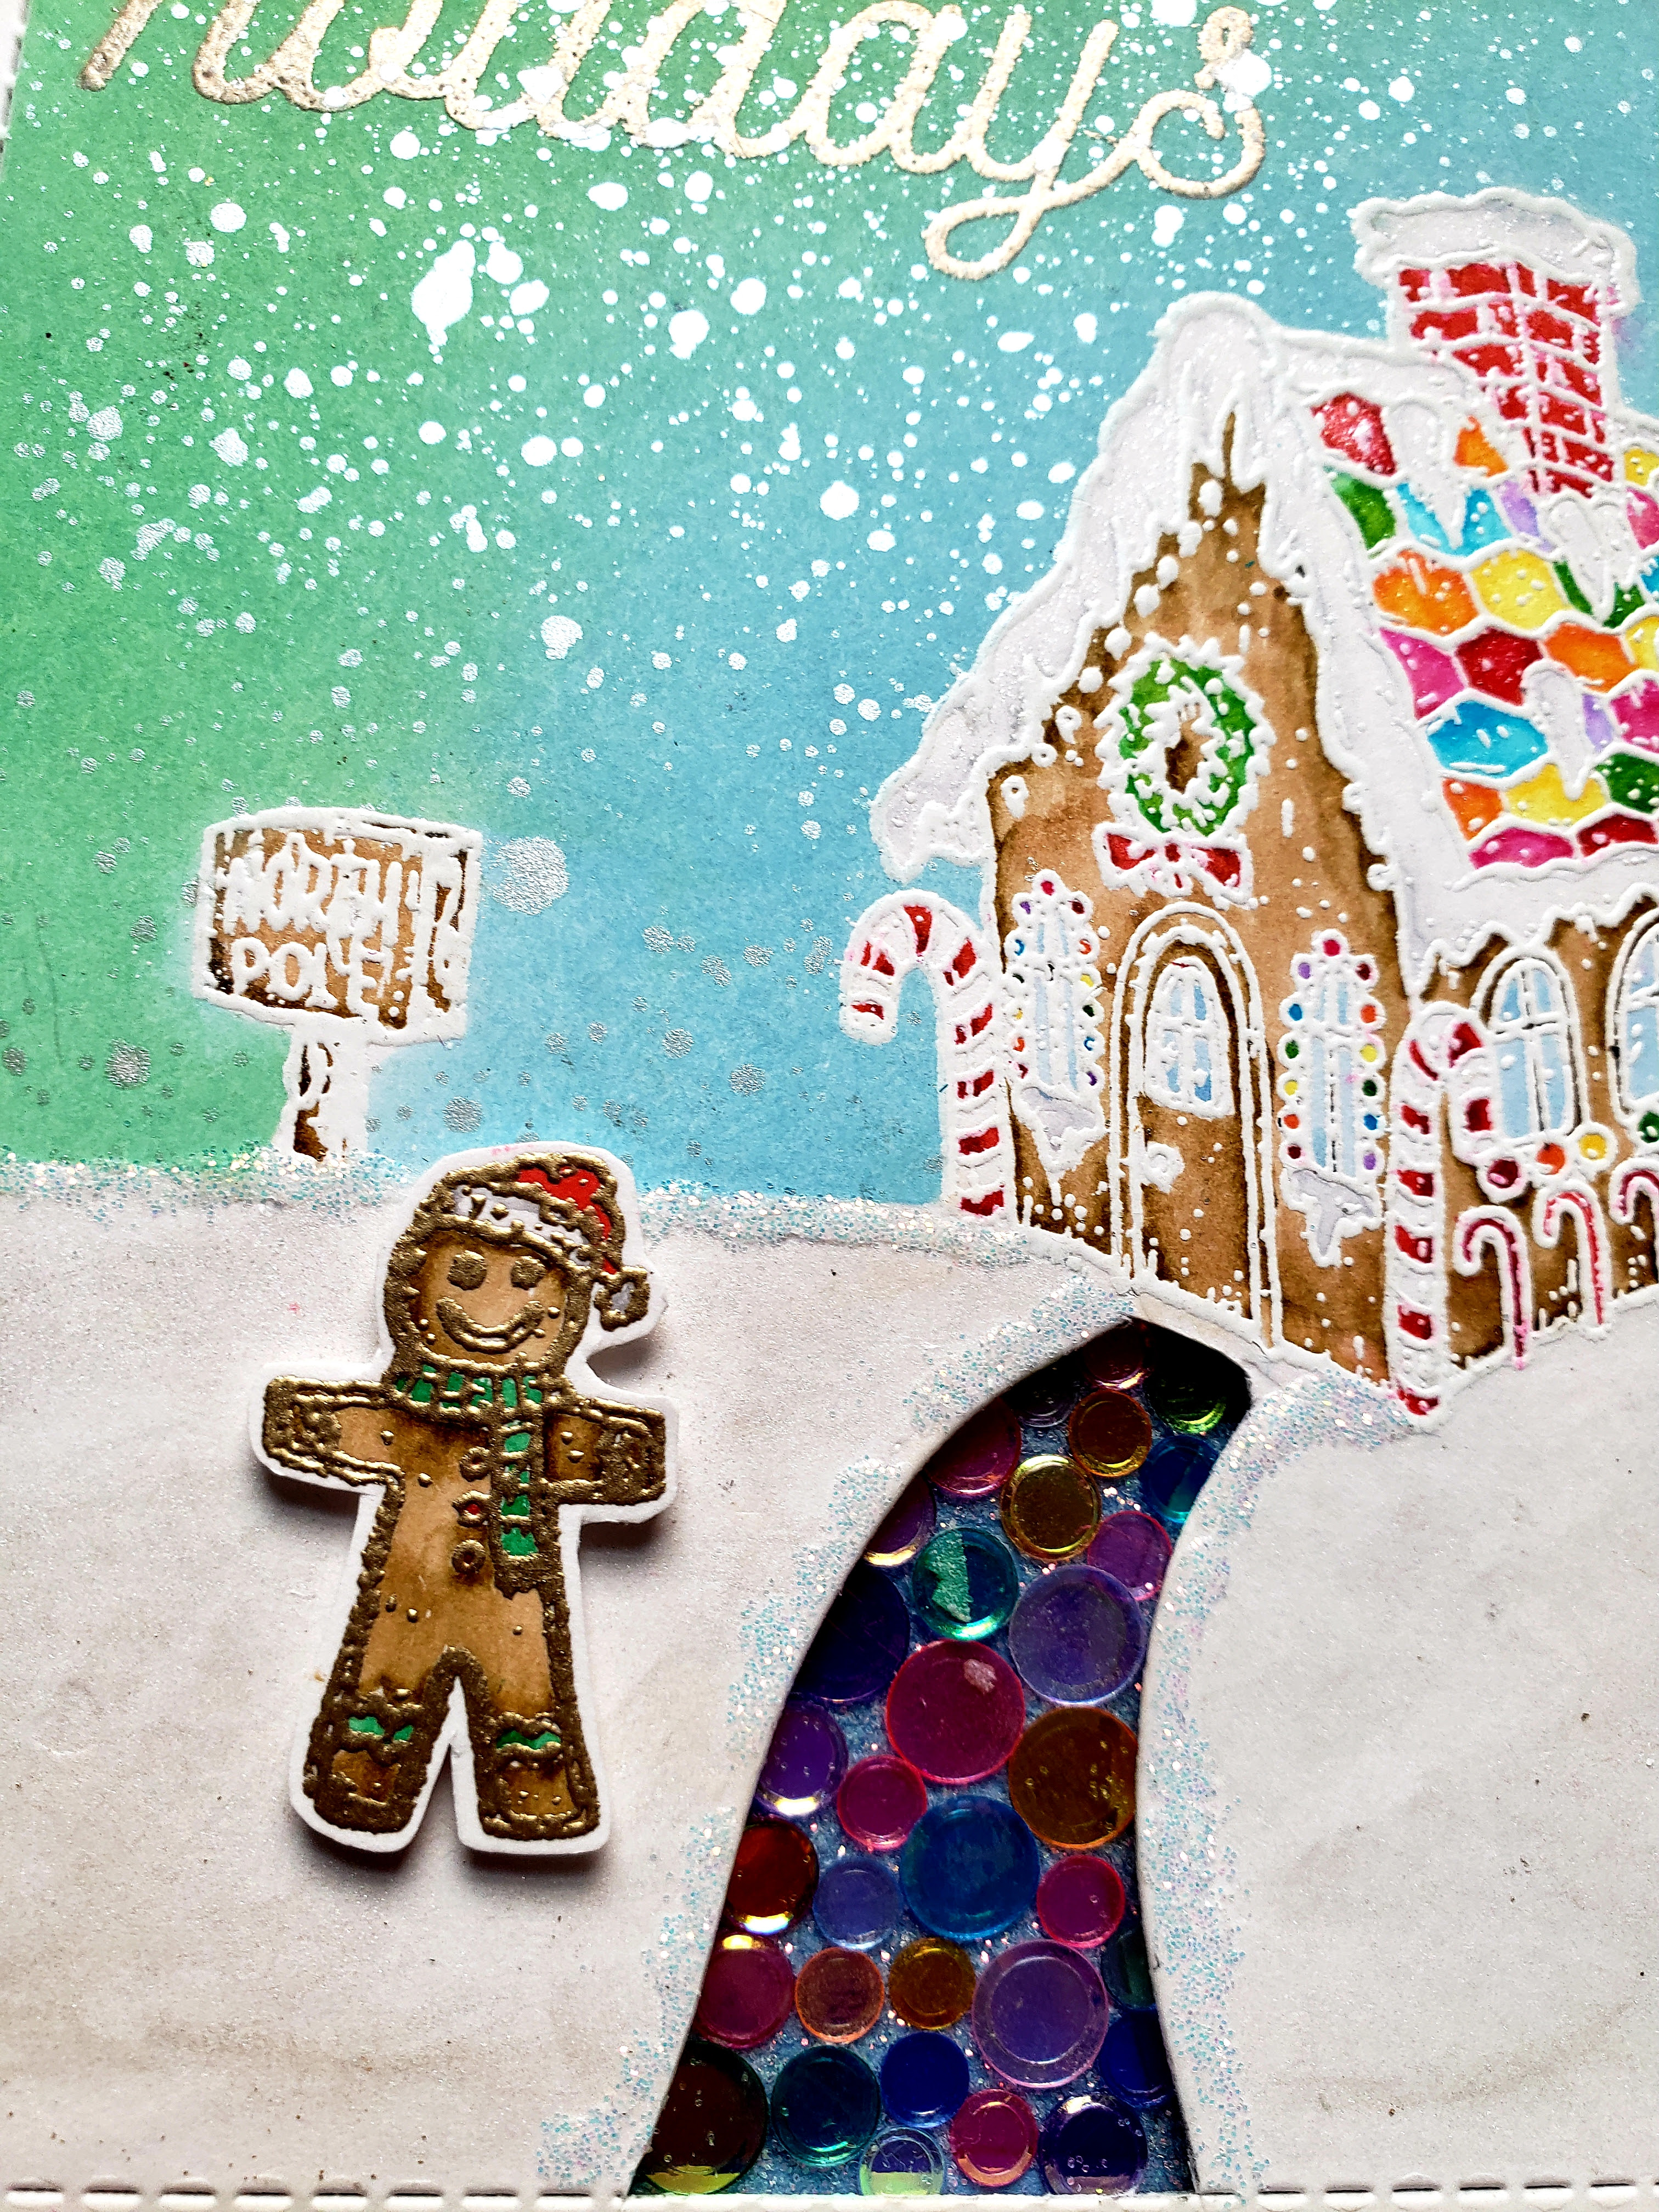
To cut the walkway, I used some dies (discontinued) but you could easily do the same thing with a craft knife. I traced the shape of the walkway onto the bottom blue cardstock, applied double sided tape and adhered sequins for a colorful "cobble stone" candy feel. I added some iridescent glitter to fill in the gaps and cover the tape.
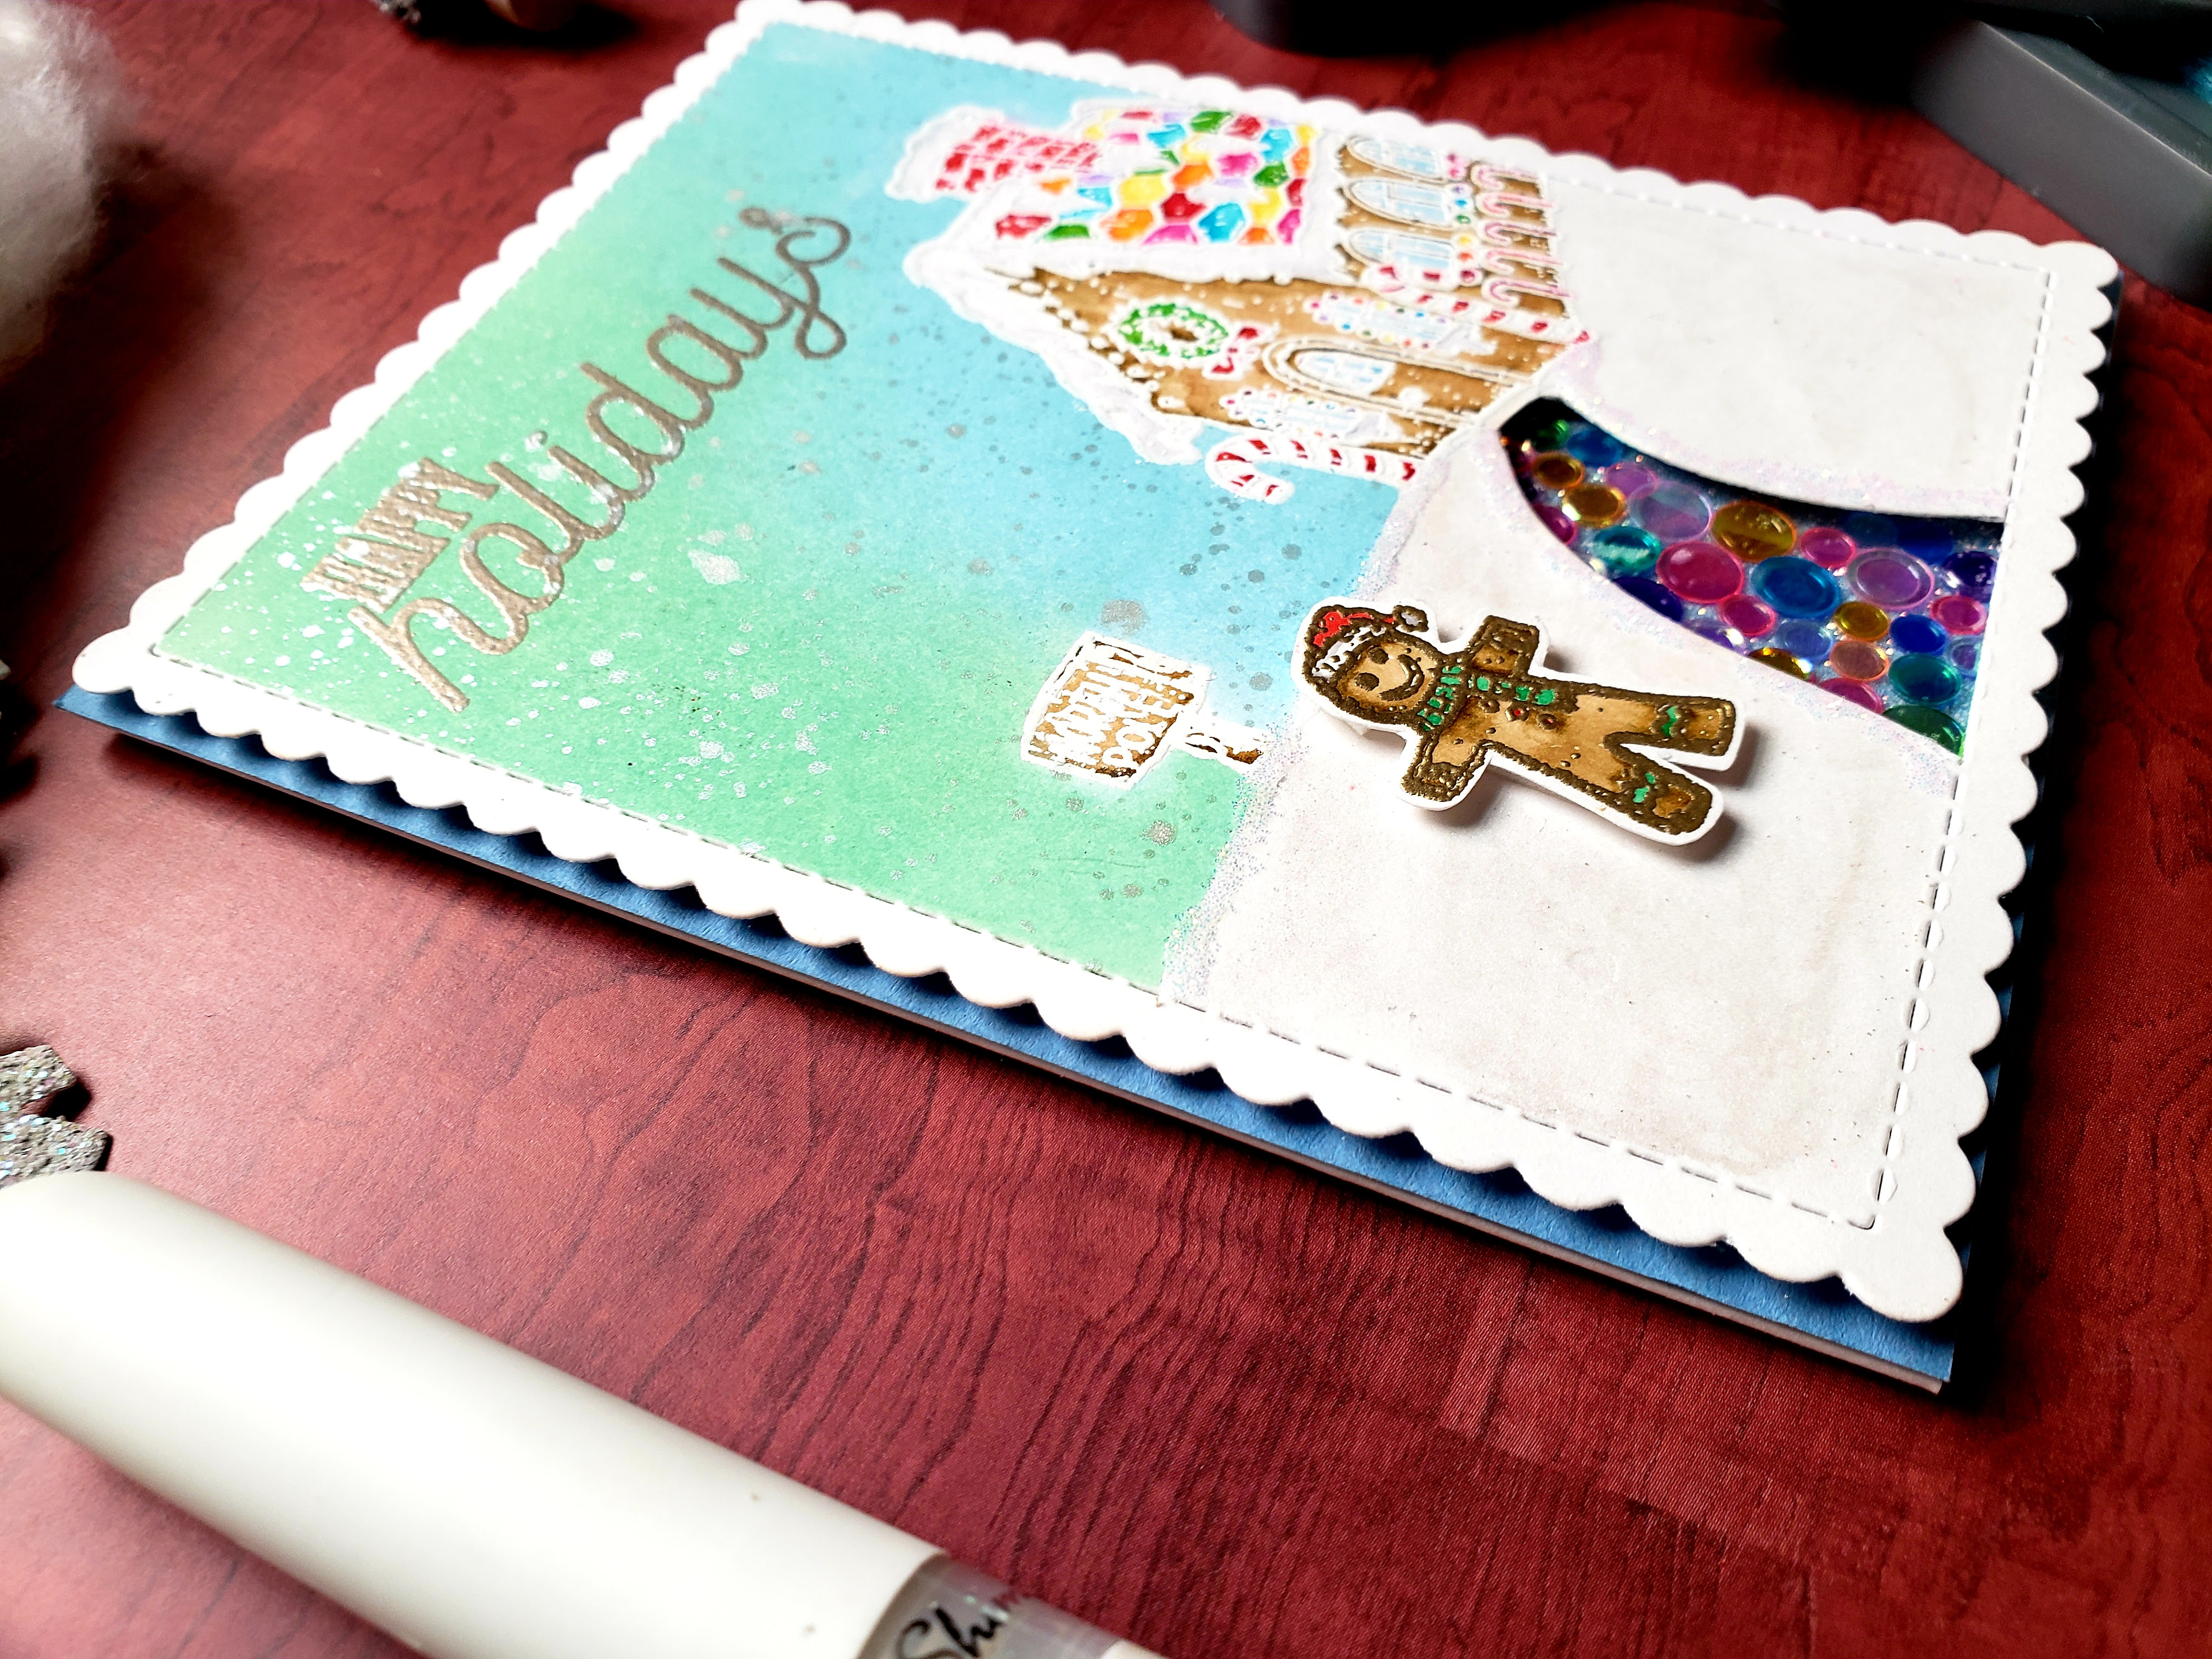
The colored panel was backed with fun foam (leaving a gap for the walkway) and adhered to the blue cardstock with liquid glue. I added more "snow" to the scene by using the same glue and adding glitter on top. This technique really brings me back to my childhood crafting days! I added even more sparkle by using my shimmer pen on the house and Perfect Pearls on the snowy ground. I fussy cut the image of the gingerbread man and adhered him to the background with a small amount of foam tape. The finished panel was adhered to a heavy weight (120 lb) side folding card base that is 5 1/2 by 4 1/4.
Thank you for joining me today and I hope you liked this whimsical and festive holiday card!
We hope that you are as inspired as we are by Megin! That gingerbread house looks good enough to eat! If you would like to see more of Megin's creative work, please visit her social media. Links below!

Leave a comment