Check your Rewards Here!

Happy Holidays | Creative Backgrounds with Brutus Monroe Inks and Stencils
Hello! Today I thought I'd show you an example of a few simple ways you can use Brutus Monroe's inks to create unique backgrounds for your cards and projects.
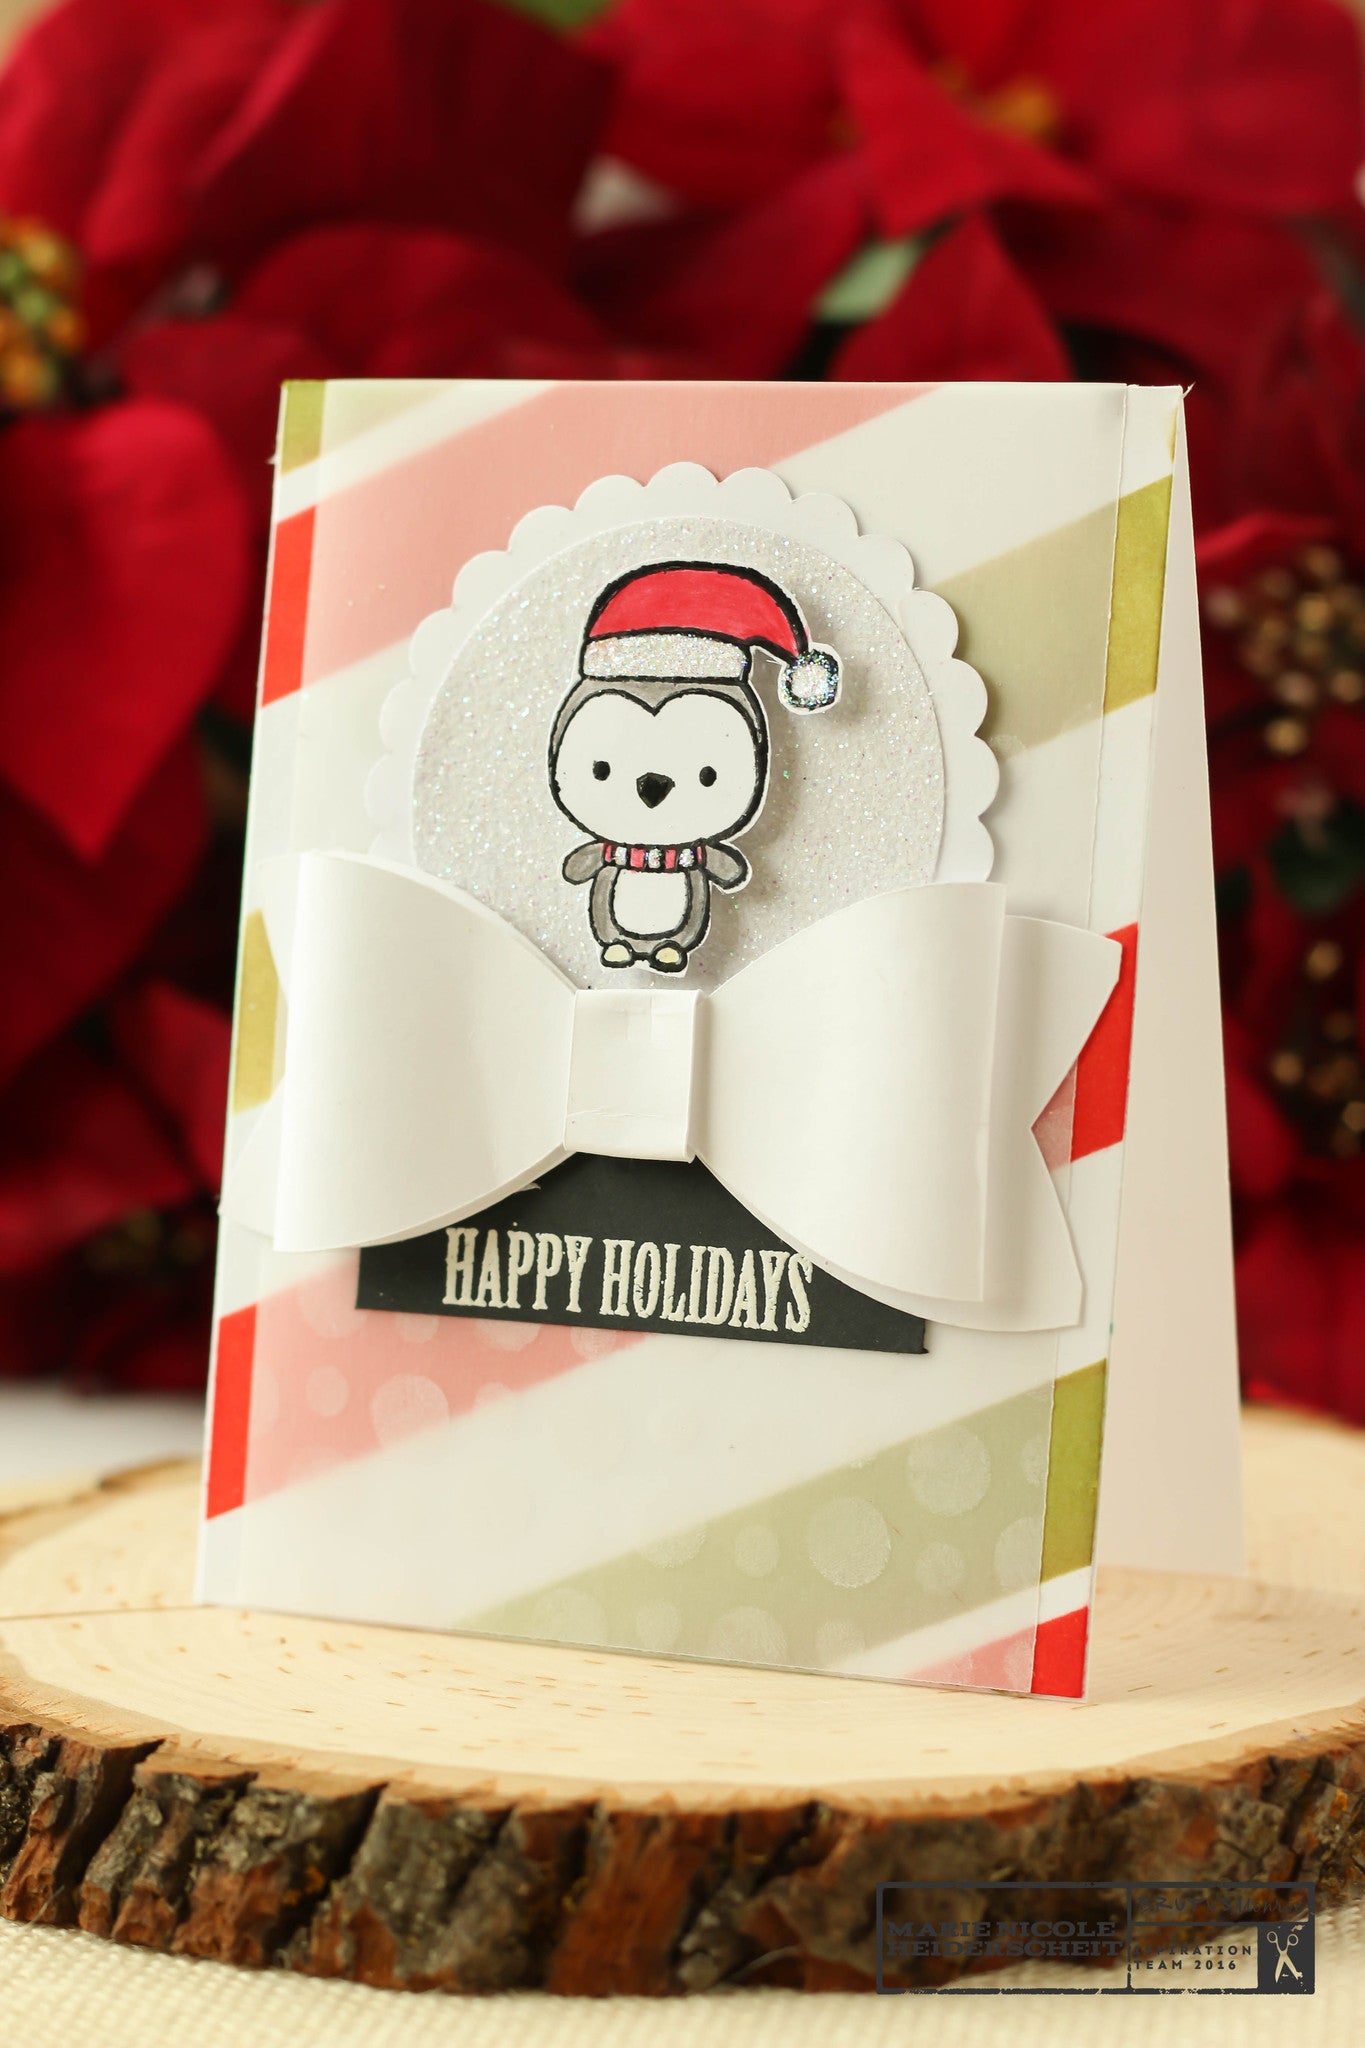
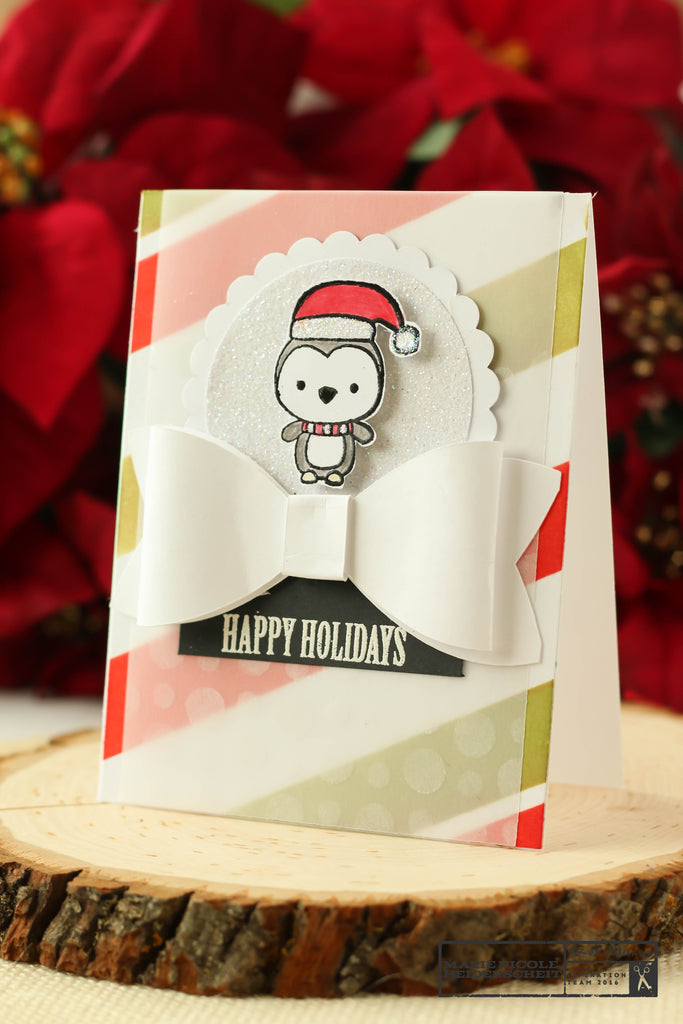
I started by taking a piece of vellum paper and using the Brutus Monroe Polka Stencil along with some white pigment ink to create some fun but subtle polka dots on the vellum piece. When doing this, you do need to try to let the ink dry completely before working with your piece so you don't smudge the ink. Pigment ink generally takes longer to dry anyway, and when you put it on a surface like vellum it takes a bit longer still. Just keep that in mind when you try this technique!

As I set the vellum piece aside to dry, I grabbed a white cardstock card base and my Heidi Swapp stripes stencil. I taped down the stencil over the card base so it wouldn't move as I applied my inks. Then, I took my ink blending tool and some Candy Apple Distress Ink to make some red stripes. For the green stripes, I used Brutus Monroe's Cabbage ink.
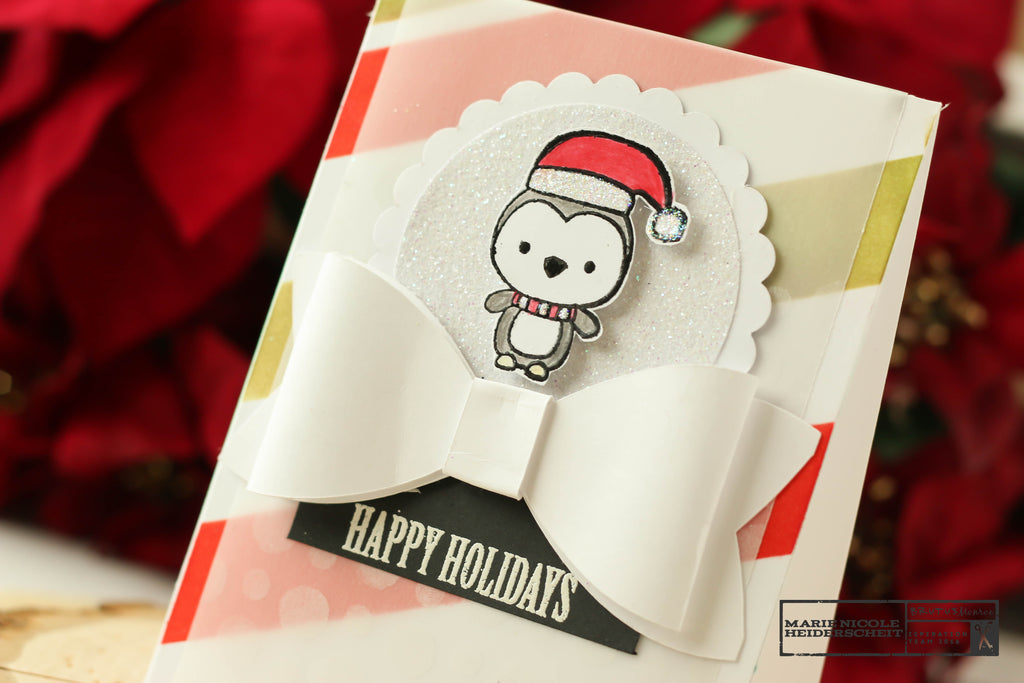
So now with my backgrounds created, I started to assemble my card. I used my Cricut to cut out some circle shapes as well as a big paper bow. Then, I cut a small square of black cardstock and stamped and embossed the sentiment, "Happy Holidays" using the Oh Deer stamp set from Brutus Monroe.
I adhered the vellum over the striped background, and then glued on my other pieces, as well. The little penguin is a stamp from my supplies that I stamped, embossed, and colored. I popped him up on some foam adhesive and then added some Stickles to his hat and scarf.

So hopefully this gives you some ideas and inspiration on how to use your stencils and inks together!
Thanks for stopping by and remember to always "Create Your Own Ending!"
Until next time,
Marie Nicole

Comments
Leave a comment