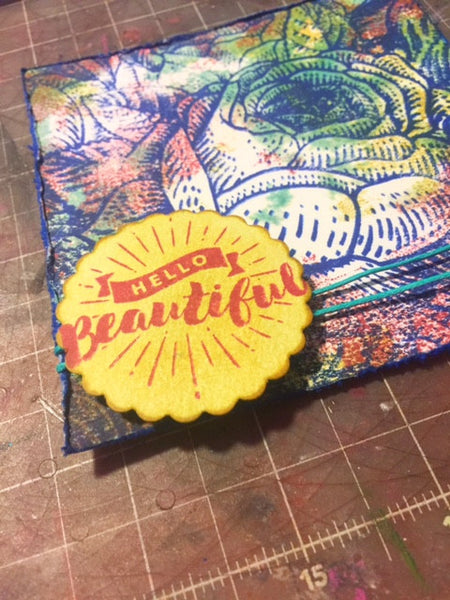
I am obsessed with the new releases I can't even stand it! My favorites are the HUGE background stamps measuring in at just about 6 x 6 inches! This week I used three of the new sets to make this beautiful card:
The stamp sets I used were "Hello Beautiful", "Enchanted Rose" and "Watercolor Background". I also used the "Spring Collection" Surface Inks!
First ink up the "Watercolor Background" stamp and stamp on a mixed media or watercolor piece of paper.
Rotate the paper and stamp again with another color (I like using a stamp press for this technique).
Rotate the paper again, but this time when you ink up the stamp with the third color, mist it with some water!
Remove your paper from the stamp press.
Mist it with water and use a heat gun to dry it.
Return your dry paper that you have stamped with the "Watercolor Background" stamp to the stamp press. Place the "Enchanted Rose" stamp on the press and ink it up with the fourth and darkest color.
Stamp the rose (I had to stamp it three times to get a nice dark crisp image) and remove from press. Trim the edges.
Distress the edges.
Ink up the distressed edges with a Surface Ink of your choice and set the card aside.
Punch a circle or any shape you desire and ink it with a blending applicator for soft even coverage. Make sure you ink the edges a little darker by running them across the Surface Ink pad.
Stamp the sentiment from "Hello Beautiful" on your shape.
Rap some twine, ribbon or fiber around the bottom of the watercolor rose paper and use pop dots to adhere the sentiment.
Adhere it to a card base.
This is such a fun way to make a stunning card that is pretty and easy to do!
Until next time ~ Happy Crafting!
Betz Golden


Leave a comment