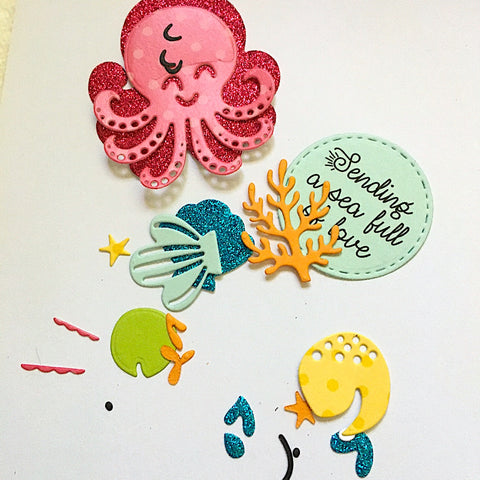
Hello everyone! Betsy on the blog today sharing this Sending a Sea Full of Love flat shaker card! This is so fun to create and has a big impact! It shakes and it's flat, making it so easy to mail!
Let me show you how I created my card.
I started by gathering my papers.
I did decide to also use some darker pink glitter paper as well. And I used
small scraps of white and black. I stamped my sentiment from the Sea Scene Stamp Set and die cut it with a stitched circle die. I backed it with the dark pink glitter card stock and trimmed it so only a tiny border was visible. I next cut out all of my die cuts.
There are so many little parts and pieces so it was at this point that I decided
to glue everything together so I wouldn't lose anything!
I placed tiny nail gems in the die cut holes and then in various places on my elements. I cut my patterned paper to 3 3/4" x 5" and used a 3D embossing folder that was a wave design. It just gives some slight texture to the background paper. I decided to make a bit of sand at the bottom of the panel. I free
hand cut a piece of white card stock.
With an ink blending brush I applied Simon Hurley's grrr! ink.
I adhered this to the bottom of the patterned paper panel with liquid adhesive. It gives a place for the shells and coral to sit.
Now it was time to adhere all of my elements. Since this was to be a shaker, they were all adhered flat to the surface with liquid adhesive.
At this point I added some dots with my white gel pen in various places and added a tiny enamel heart on the sentiment. Now it was time to encase this panel in acetate. To make a flat shaker it's best to use thin acetate. That's why packaging works well. It folds really well and lies flat. My piece of acetate was about 1/2" bigger than my panel all the way around. I used double-sided tape and went one side at a time...applying the tape and folding the acetate over it.
I didn't adhere the top. I added chunky glitter and it really wasn't a lot. Maybe a little over a teaspoon. I sealed up the top and then covered the back of the panel with the double-sided tape. I stuck this down to my A2 size card base that was covered with a pretty aqua glitter paper and my card was finished!
I hope you enjoyed today's tutorial! Such a fun card and so easy to mail!
Til next time
Betsy
Products used:


Leave a comment