Check your Rewards Here!

XO Valentine

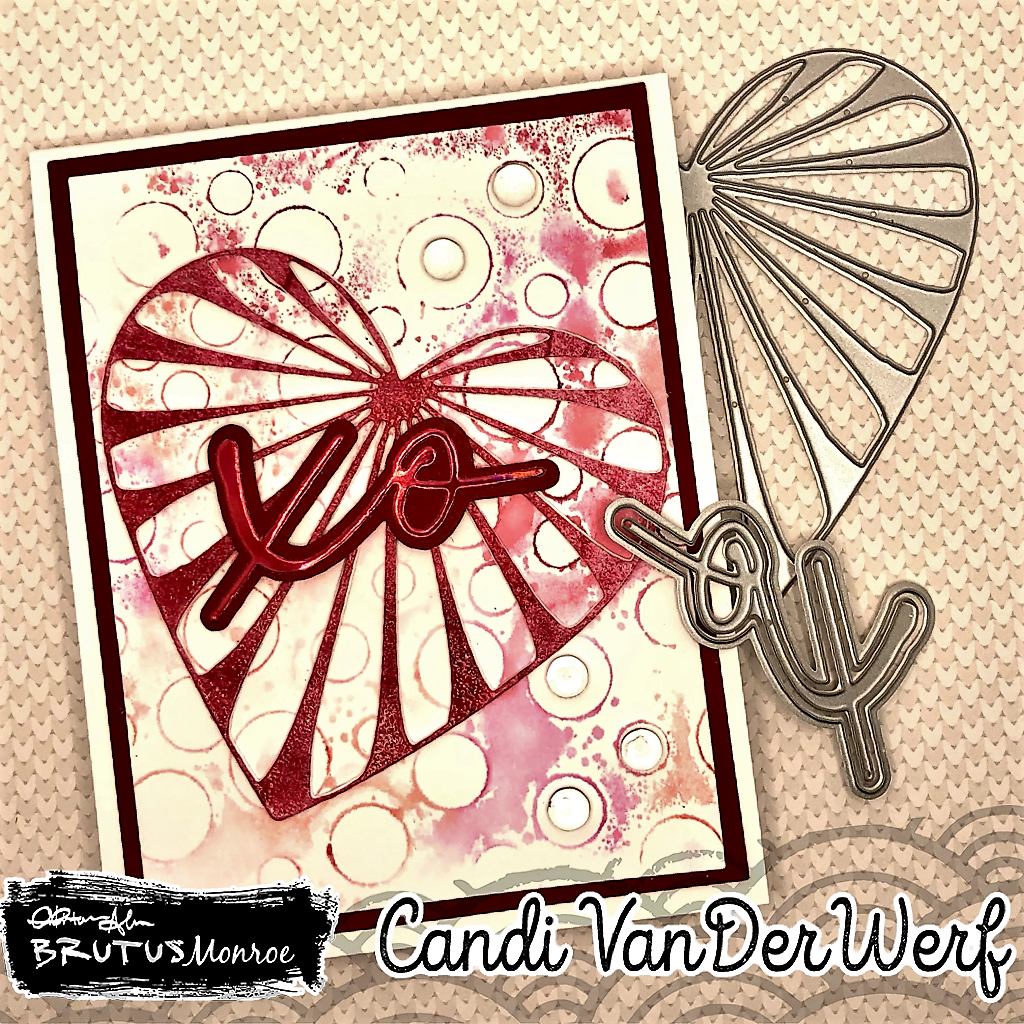
Today I have a standard A2 card for you. I used a variety of products to create this XO card which can be used for more than just Valentine's Day. First up I used Game Over, Bee Sting and Prom Queen ink from Simon Hurley Creates and pressed them in random areas on my stencil (Random Dots). I lightly spritz the stencil with water. (These inks are water reactive.) Then I carefully flipped the stencil over onto my card panel which was created from the perfect blend alcohol paper.
While the ink set into my panel I worked on the rest of my card. I used more of the Game Over ink and the direct to paper method with some white scrap cardstock to create my heart. I took the ink pad and swiped it over and over on the cardstock until I was happy with the saturation and blend.
Next, I cut the paper with one of the hearts from the Dotted Heart Cutting Dies. (I also cut out 3 more of the hearts from white scrap cardstock, which I will glue behind the colored heart for dimension.) Then, I covered the entire red heart with Brutus Monroe Embossing ink and then poured the Triple Thick Embossing Powder. Once I heat set it, the heart has this beautiful shiny look to it and the Triple Thick gives the ink this cool texture effect.
Once my card panel was dry, I cut it down using some rectangle dies and matted it on some Marsala Cardstock. Before, I matted the stenciled panel, I cut the XO shadow from Heart Petals Cutting Dies from the center of my Marsala mat. (I do this to save paper, and no one will see the cutout once, I place the stenciled panel on top.) Then, I attached the matted panel to my White A2 Card base.
I cut the XO script part from a gloss cardstock that was in my scrap bin and attached it to the Marsala Shadow. Using liquid glue I attached the die cut hearts together and then to the front of my card. I placed an acrylic block on top to hold it down until the glue was set. (This helps the glue take a good hold in case my background has some texture or is still a little damp in spots). Then I used liquid glue to attach my sentiment. For a final touch, I used more liquid glue to adhere some Acrylic Bubbles to the center of some of the dots on the background.
Products Used from the Brutus Monroe Store:
- Dotted Heart Cutting Die
- Heart Petals Cutting Die
- Embossing Ink
- Triple Thick Embossing Powder
- Perfect Blend Alcohol Paper (8.5x11)
- Marsala Cover Cardstock
- Random Dots Multimedia Stencil
- Spring Acrylic Bubbles
- Simon Hurley Creates Game Over Ink
- Simon Hurley Creates Bee Sting Ink
- Simon Hurley Creates Prom Queen Ink

Leave a comment